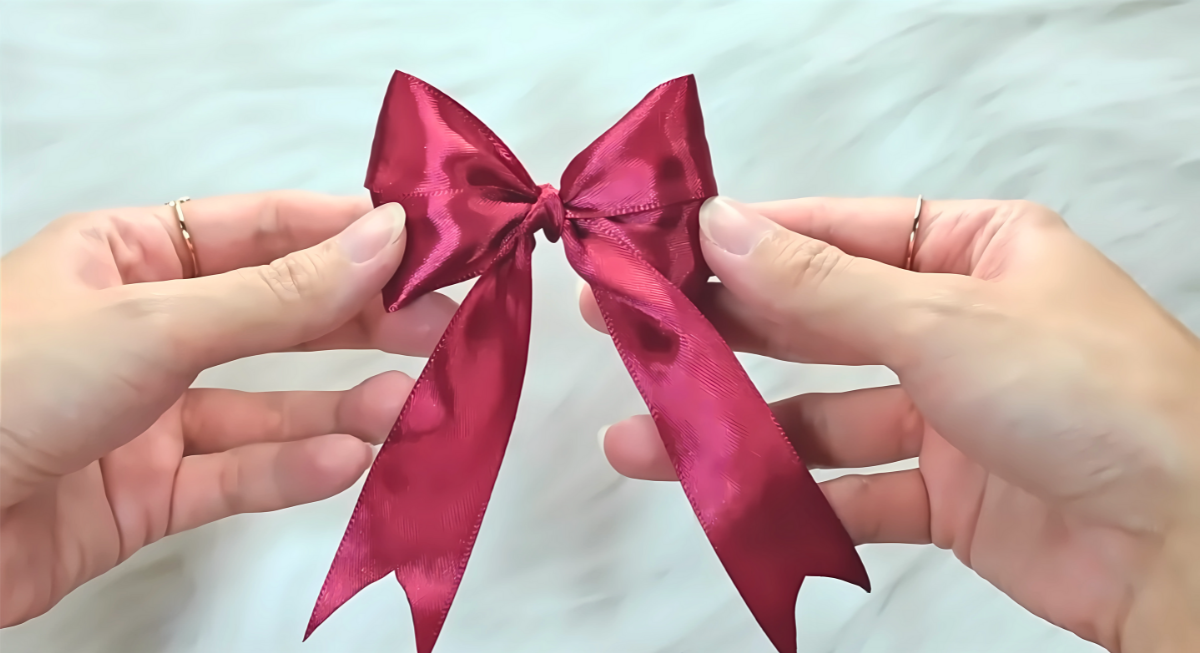
Christmas Bows Are Our Favorite Decor Trend, Here’s How To Make Them
Credit: Gift Wrapping Land
Tired of store-bought ribbons? Learn how to make the perfect gift bow at home for a chic, handmade touch to gifts and holiday decor!
Bows are having their moment this holiday season, and it’s not hard to see why. No longer relegated to oversized, shiny taffeta accents, ribbons and bows have reemerged as timeless yet stylish decorations, offering a fresh take on holiday decor. From Christmas trees adorned with delicate velvet bows to wrapped gifts, table settings, and even glassware, bows are the go-to detail for adding charm and a touch of nostalgia to your home.
Experts suggest that the resurgence of bows ties back to trends seen in fashion—think Rodarte or Sandy Liang’s dreamy, vintage-inspired styles—giving them a romantic and slightly whimsical quality perfect for the festive season. Their versatility is unmatched: whether layered on trees in deep brown shades for a cozy, elegant vibe like Hotel 1928 or styled with feminine pinks and sparkling tinsel for a full-on festive look, bows adapt beautifully to any aesthetic.
For DIYers, bows are both budget-friendly and impactful. Swap pricey ornaments for ribbons on your tree, tie subtle gold or black velvet bows onto your champagne glasses, or elevate your tablescape by adding bow-shaped napkin ties. From vintage boutiques to TikTok creators, everyone’s getting creative with how bows can enhance decor—and now, it’s your turn to try it.
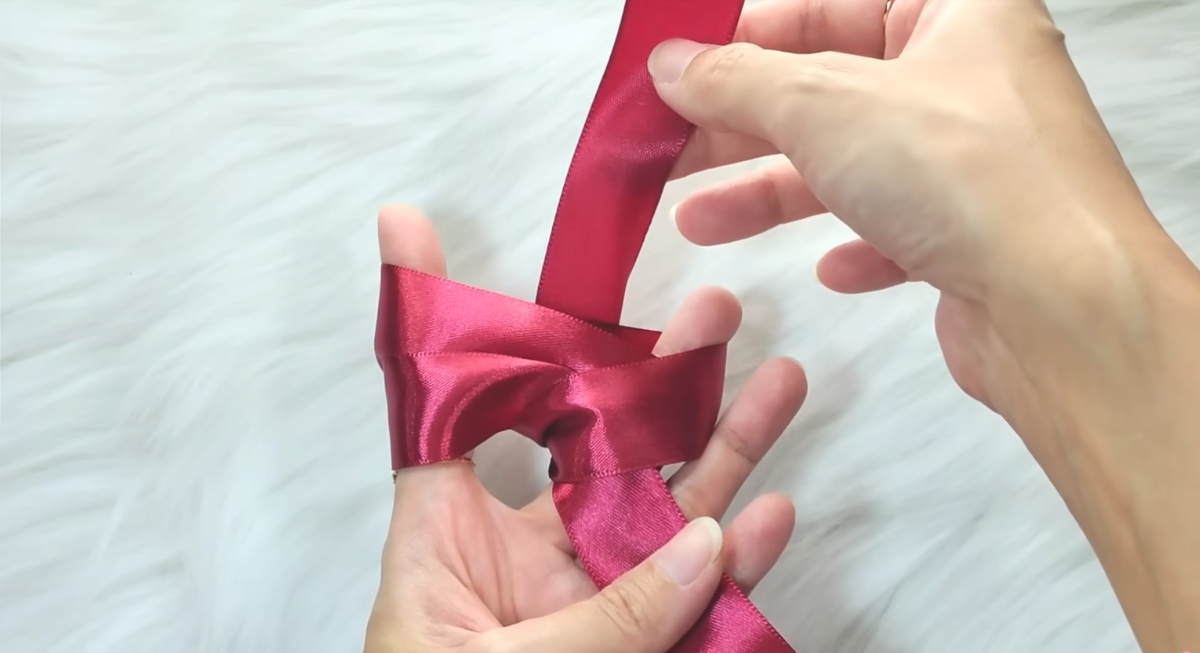
How To Make Gift Bow
Step 1: Gather Your Materials
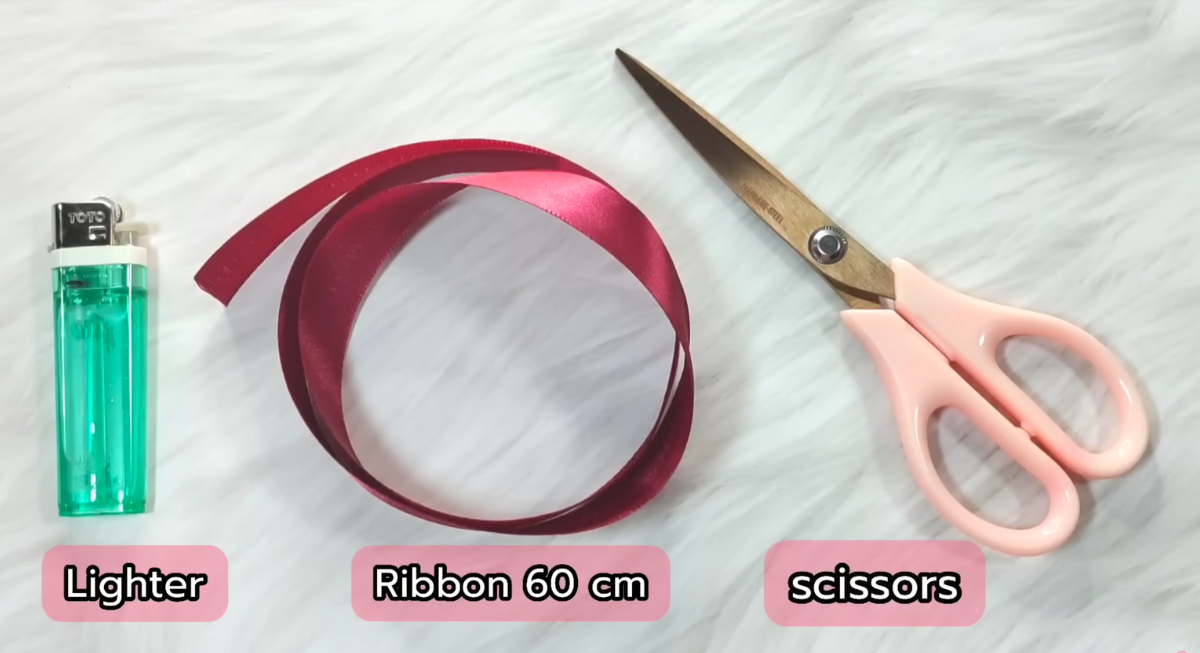
To get started, you’ll need:
- A 60 cm ribbon of your choice (satin or velvet works beautifully).
- A pair of sharp scissors to cut clean edges.
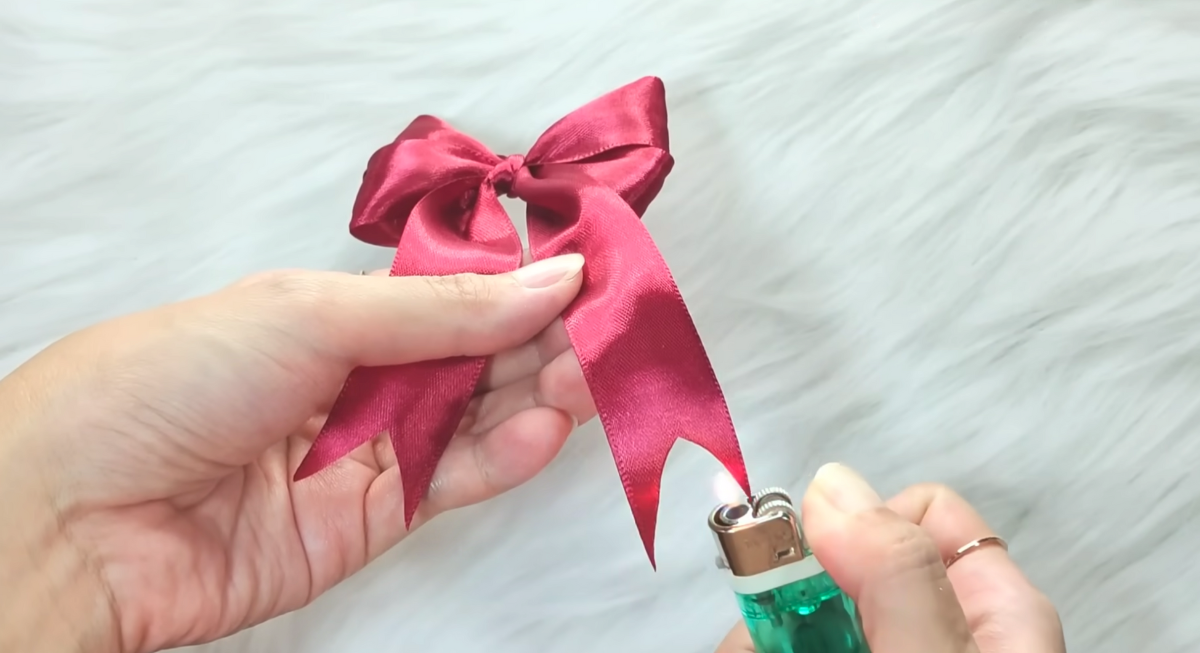
- A lighter to seal the ribbon ends and prevent fraying.
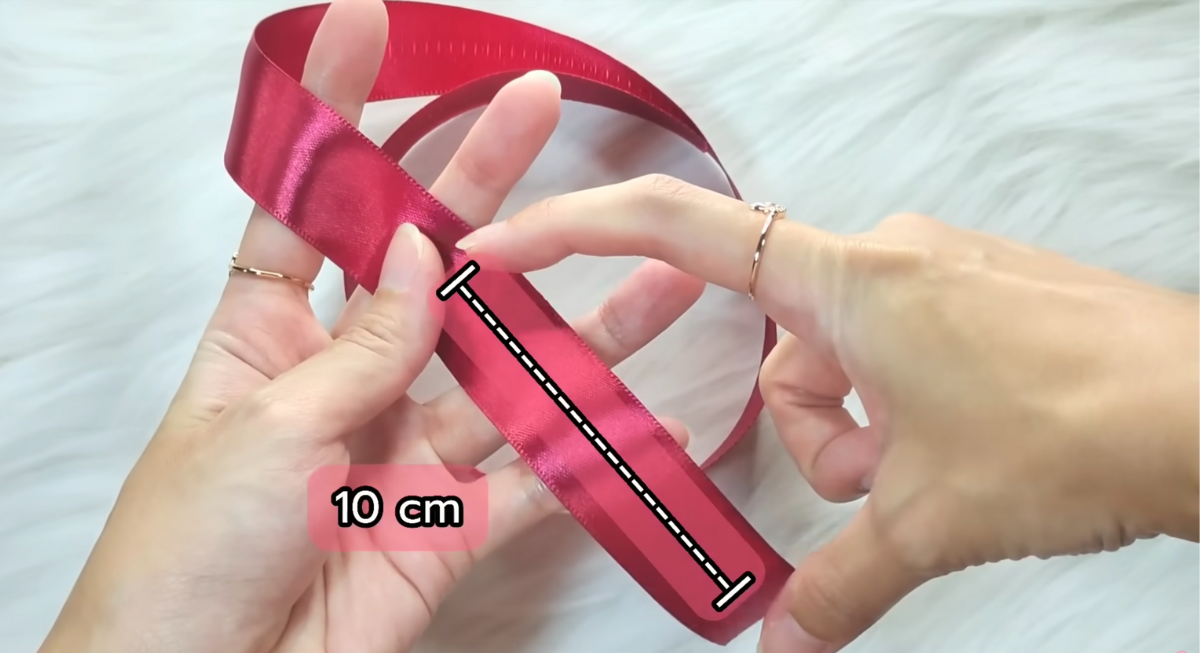
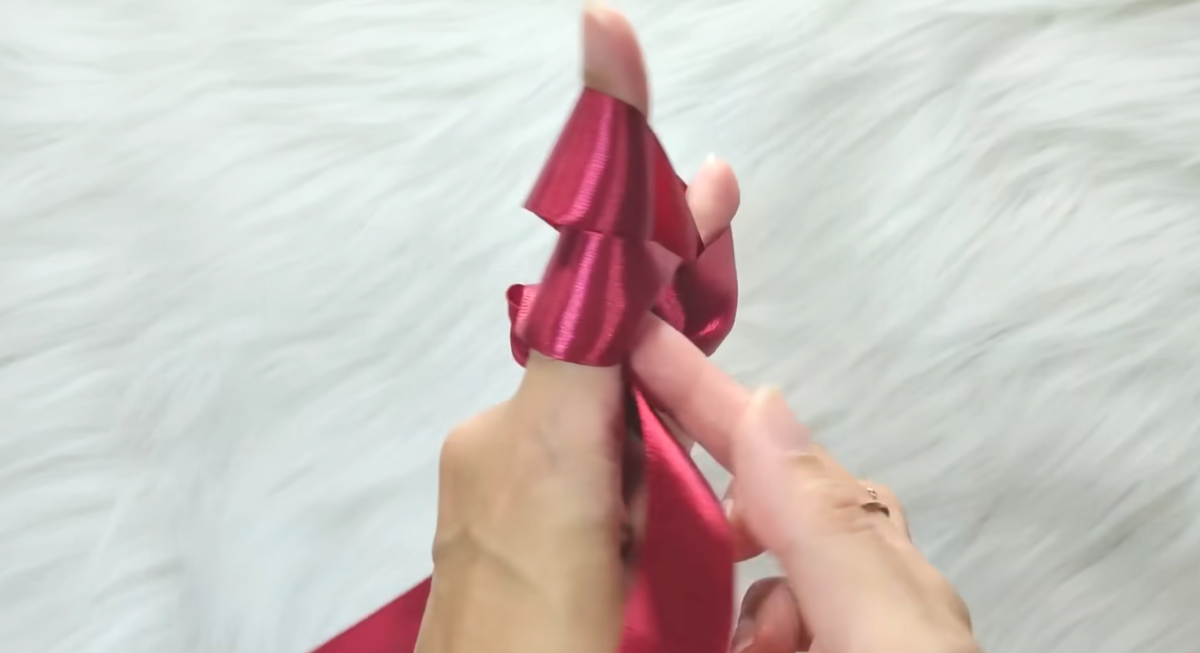
Ensure everything is laid out on a flat surface so you can work smoothly. Now, let’s move on to shaping the perfect bow!


Decades of Combined Expertise
Best Buy Guidebook is a culmination of online publishing lessons learned. From SEO to paid ads, our team has experienced the highest of highs and the lowest of lows. Our goal now is simple: Arm readers with the most information possible.