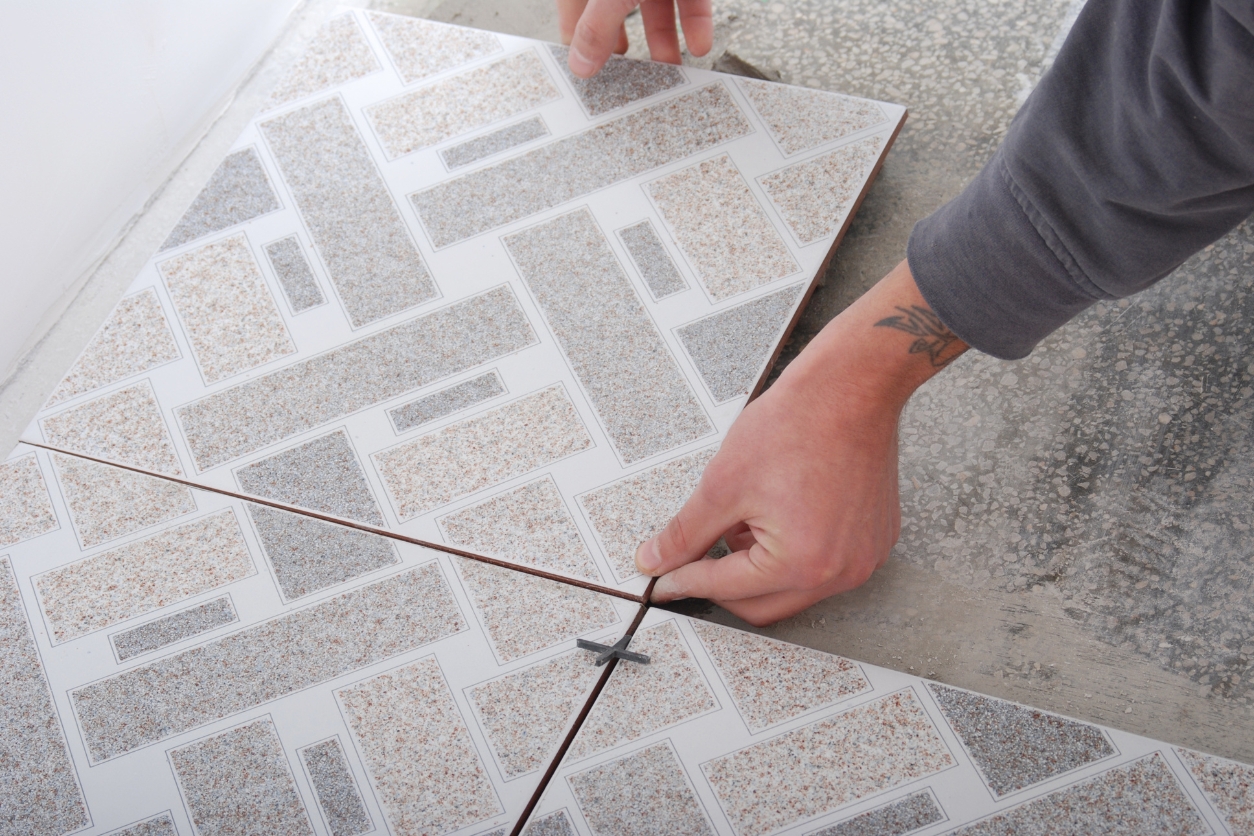
Peel-and-stick floor tiles are essentially vinyl tiles with a self-adhesive backing. They come in a range of colors, textures, and patterns, allowing you to get creative with your space. Whether you’re going for a sleek, modern look or something more rustic, there’s a peel-and-stick tile out there for you.
They’re particularly popular in rental spaces where more permanent changes aren’t an option, but they also work great for people on a budget or anyone who simply doesn’t want the hassle of installing traditional flooring. The vinyl surface is easy to clean, and the installation is straightforward—no professional help needed.
But don’t let the simplicity fool you—there’s a bit more to getting these tiles to work the way you want them to. Here’s what you need to keep in mind.
Related: 10 Bathroom Tile Ideas
Installing Peel-and-Stick Floor Tiles
Step 1: Prepping the Floor
No matter how beautiful your peel and stick tiles are, they won’t adhere properly if the surface beneath them isn’t spotless. This step isn’t just recommended, it’s mandatory.
- Remove all baseboards or quarter-round trim before you start. You don’t want the tiles to bump into them, leaving uneven gaps.
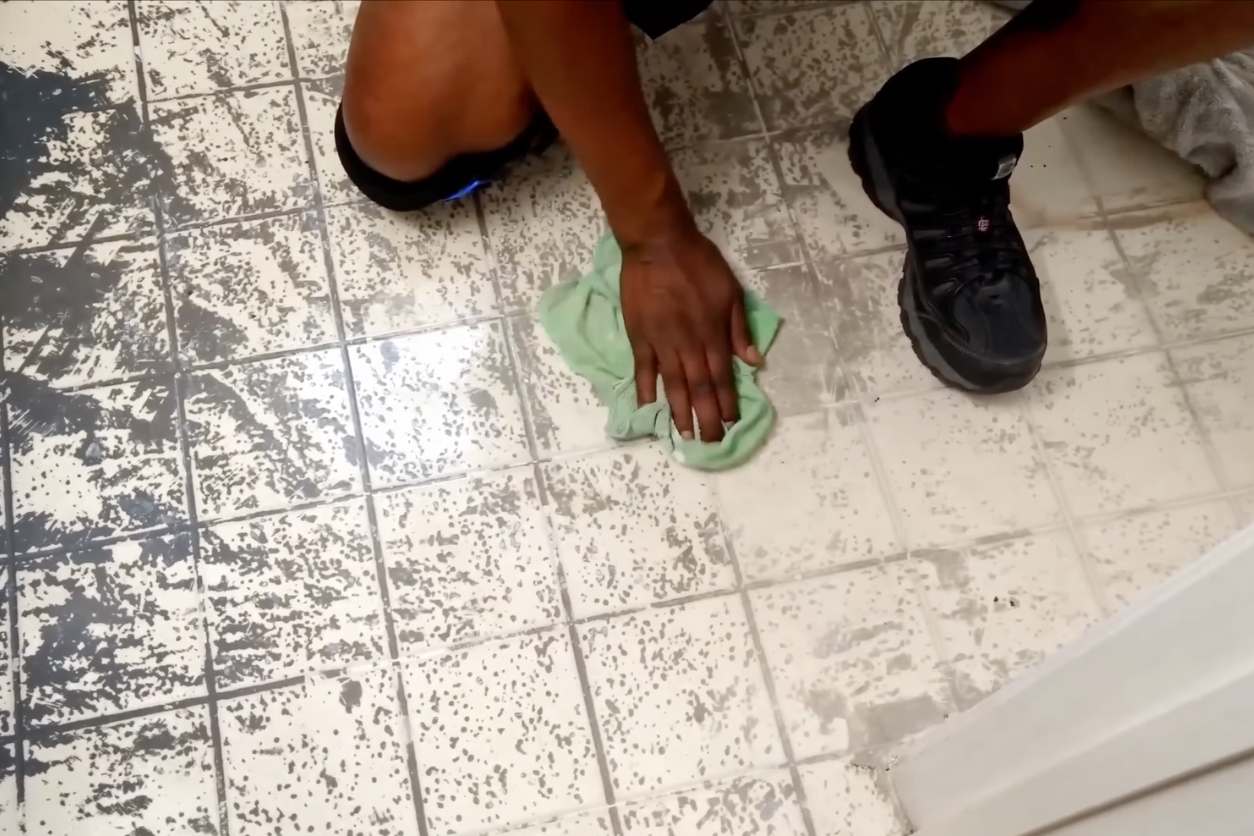
- Clean the floor thoroughly—and I mean thoroughly. Vacuum up all the dust, then mop with a mild cleaner to lift any lingering grease or grime. If you have stubborn paint splatters or sticky spots, go over them with a scraper or abrasive pad to make sure the floor is smooth and debris-free.
- Ensure the existing floor is in good shape. If you’re laying the tiles over old vinyl (which works perfectly), make sure it’s intact and not peeling. The smoother your subfloor, the better your final results will be.
Step 2: Plan Your Layout
Planning out your tile layout before you start sticking them down is crucial. Not only does it make the installation process easier, but it also helps you avoid those awkward tiny cuts at the edges.
- Find the center of the room and work your way outwards. This ensures a balanced, even look once all the tiles are in place. Mark your center point and use a chalk line or straight edge to establish reference lines for your first row of tiles.
- Dry-fit the tiles before you start peeling off the backing. Trust me, it’s worth it to lay them out and see how the pattern lines up—especially if you’re dealing with a design or need to make sure the tiles will fit properly around edges, vents, or door frames.
Step 3: Cutting and Fitting Tiles to Edges
Once you’ve got your center tiles down, it’s time to deal with the edges and any irregular areas. But don’t stress—peel and stick tiles are super DIY-friendly, and with the right tools, this part is a breeze.
- Use a utility knife to cut tiles. Just score the top surface with the knife and bend the tile to snap it cleanly in two. For smaller cuts around corners or vents, scissors will work too (just don’t use your favorite pair—trust me, the adhesive gets everywhere!).
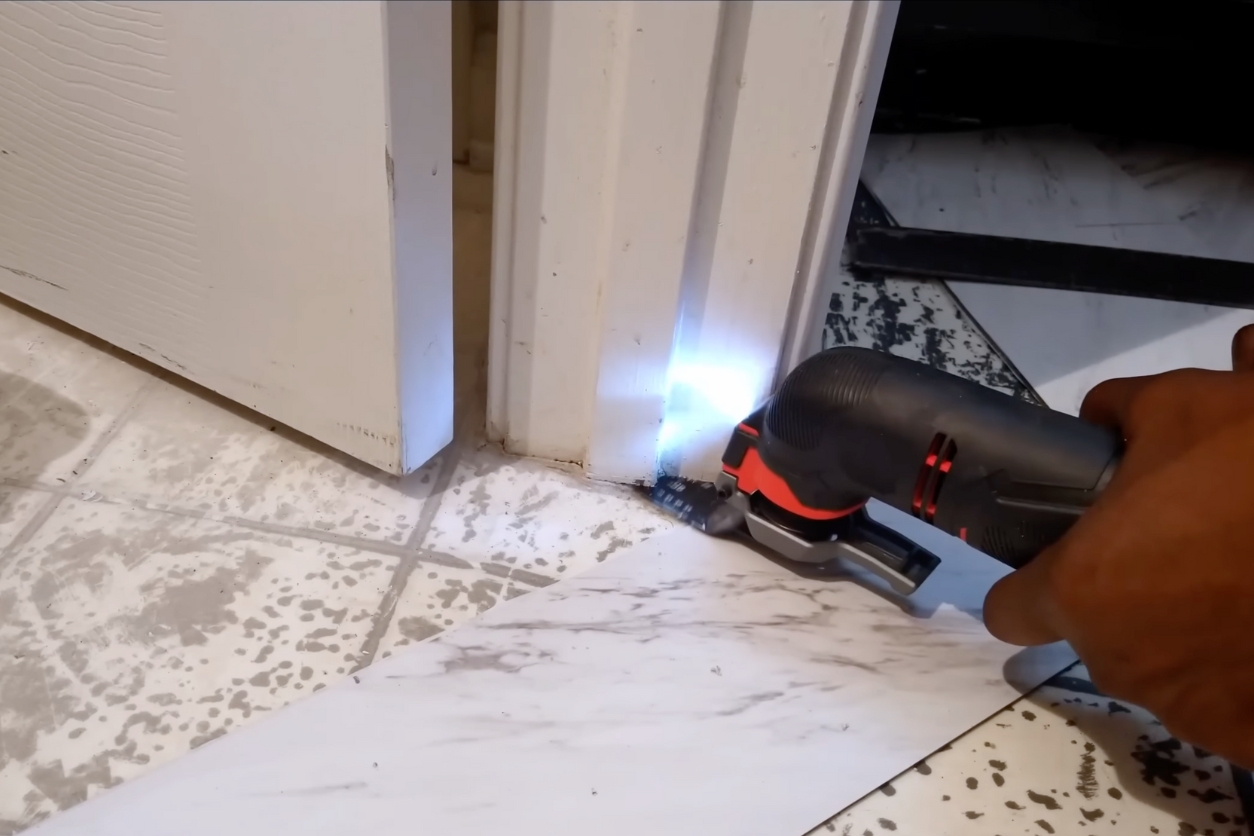
- For tricky areas like door frames, a tool like an oscillating saw can save you a ton of time. This tool allows you to slide tiles cleanly under door jambs without awkward, uneven cuts.
Step 4: Laying the Tiles
Now that your layout is prepped and your tiles are cut, it’s time to get them stuck to the floor. This is the most satisfying part of the process!
- Peel the backing off one tile at a time, and align it with your reference line. Start in the center of the room and work your way outwards. Press the tile down firmly with your hands, making sure there are no air bubbles.
- Work in small sections, laying about 4 to 5 tiles at a time, and constantly check that everything is aligning correctly, especially if you’re working with a pattern.
- Use tile spacers if you’re planning to grout (more on that in a second!). This keeps your grout lines straight and even, giving the final look a polished, professional touch.
Step 5: Grouting for a Professional Finish
Yes, you can grout peel and stick tiles, and if you want to take your DIY project to the next level, this is the way to go. Adding grout gives your floor the look of luxury stone or ceramic but without the hefty price tag.
- After laying your tiles with spacers, let them sit for a few hours or overnight to ensure the adhesive has bonded to the floor. You don’t want the tiles shifting when you’re grouting.
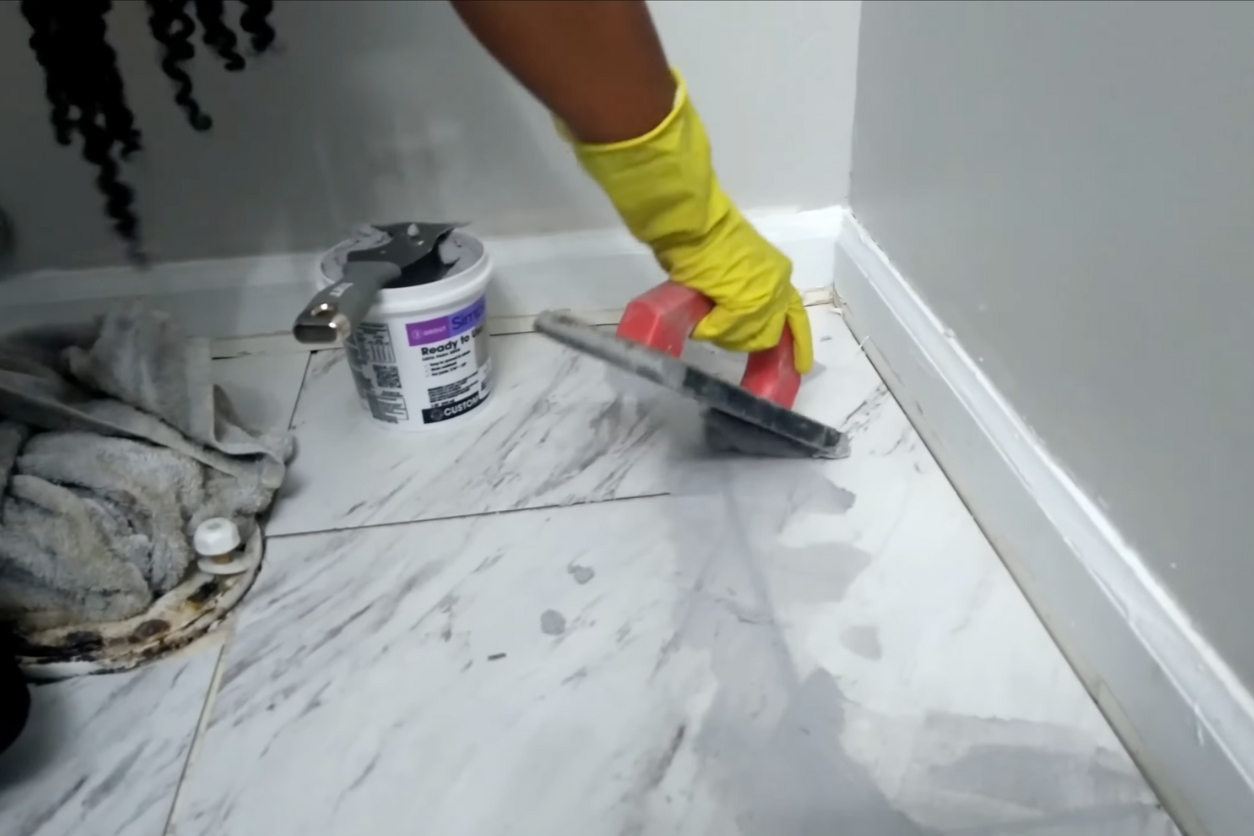
- Use vinyl grout specifically designed for peel-and-stick tiles. It’s a little more flexible than traditional grout, allowing it to expand and contract with the tiles without cracking.
- Apply the grout in small sections, using a trowel to push it into the spaces between the tiles. Don’t over-apply—less is more. After spreading it, use a damp sponge to wipe away excess grout from the surface of the tiles, keeping the lines clean and sharp.
- Let the grout dry for at least 24 hours before stepping on the tiles. It might feel like a long wait, but the result will be worth it—a professional-looking floor that’s as durable as it is beautiful.
Step 6: Edge Panels and Trims
Once your floor is down and grouted, it’s time to replace those baseboards or quarter-round trims. This not only hides any gaps between the tiles and the walls but also gives the whole space a clean, finished look.
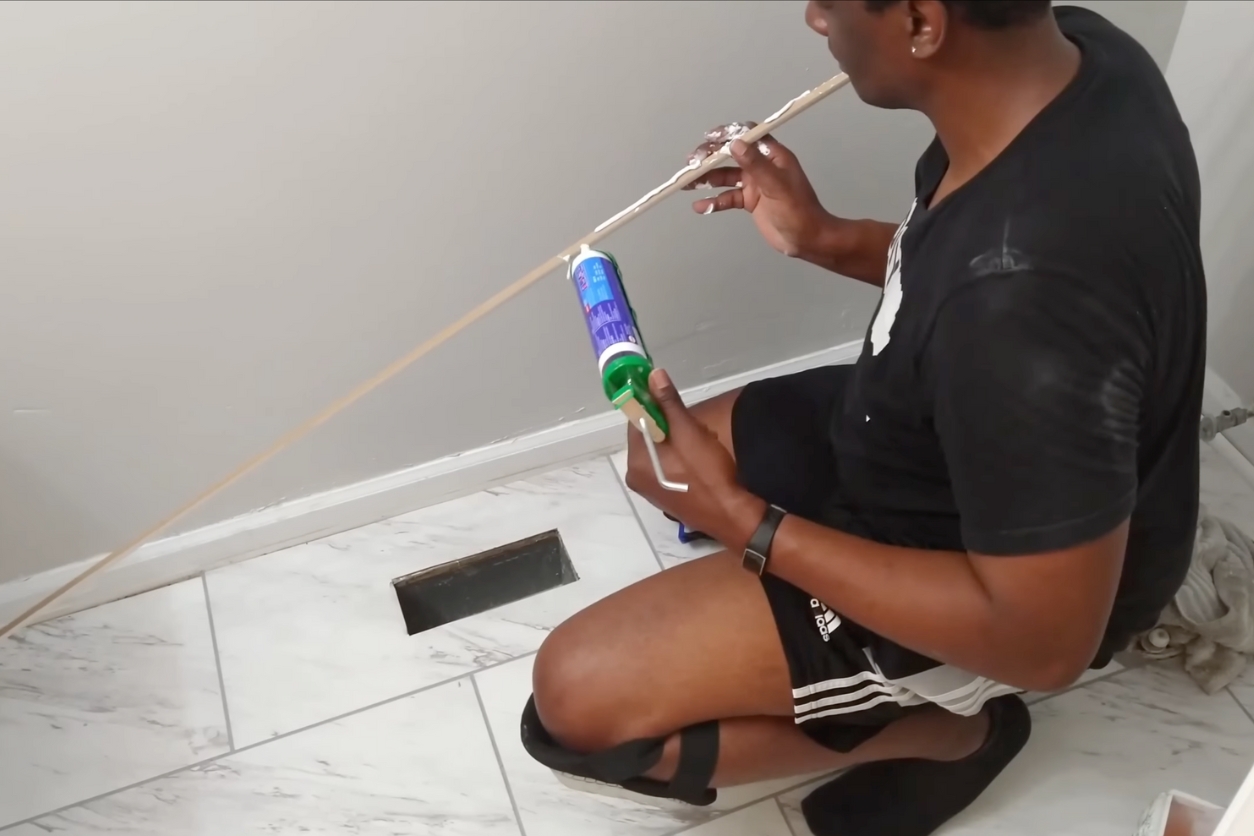
- Attach quarter-round trim to the baseboards using a strong adhesive. This will cover the edges of your tiles and give the room a polished feel. Be sure to press it firmly into place and wipe away any excess adhesive.
- For a seamless transition between rooms, consider adding a transition strip between different flooring types, especially if you’re moving from tile to carpet or hardwood. This gives the whole space a cohesive look and protects the edges of your tiles from wear and tear.
How Do Peel and Stick Tiles Hold Up Over Time?
One of the most common concerns with peel-and-stick floor tiles is durability. It’s easy to assume that because they’re a temporary, budget-friendly solution, they won’t last as long as other types of flooring. But surprisingly, these tiles can be pretty resilient—especially if installed correctly.
The key is in the thickness and quality of the tile you choose. Thicker tiles tend to be more durable and hold up better under foot traffic. Thinner tiles might be cheaper, but they also wear down faster, especially in high-traffic areas like kitchens or hallways.
In terms of maintenance, peel-and-stick floor tiles are easy to clean. Just avoid harsh chemicals and opt for a gentle cleaner to keep the adhesive intact. While they’re fairly resistant to moisture, you’ll want to avoid soaking them in water, as too much moisture can weaken the bond over time.
Where to Use (and Not Use) Peel and Stick Floor Tiles
Peel and stick tiles can go in a lot of places, but not everywhere. They work best in low-moisture areas like bedrooms, living rooms, and hallways. They’re also great for bathrooms or kitchens, as long as you keep water exposure to a minimum. Keep in mind that excessive moisture is the enemy of the adhesive backing, so if you’re considering using them in a bathroom, make sure the tiles are installed on a well-sealed floor, and don’t use them in areas that are constantly exposed to water, like right in front of a shower.
They’re also not ideal for spaces that experience frequent temperature fluctuations, like garages or sunrooms. Extreme heat or cold can cause the adhesive to weaken, causing the tiles to come loose.
So Should You Get Them?
So, should you go for peel-and-stick floor tiles? Here’s the honest truth: they’re not for everyone, but they can be a great option if you’re looking for a quick, affordable update. They’re incredibly DIY-friendly, come in a range of styles, and can be surprisingly durable if installed properly. But, they do have their limitations.
The biggest downside is that they’re not as long-lasting as other flooring options. While they hold up well in low-traffic areas, they may not be the best choice for spaces that see a lot of wear and tear. And while they’re easy to install, they can be tricky to remove—especially if you’ve used extra adhesive or grout to keep them in place.
They also might not be the best choice for renters, despite what the packaging claims. While some versions are removable, others are not, and you don’t want to risk damaging the floors underneath when it’s time to move out.

