How to Refinish a Bathtub: A 10-Step Guide
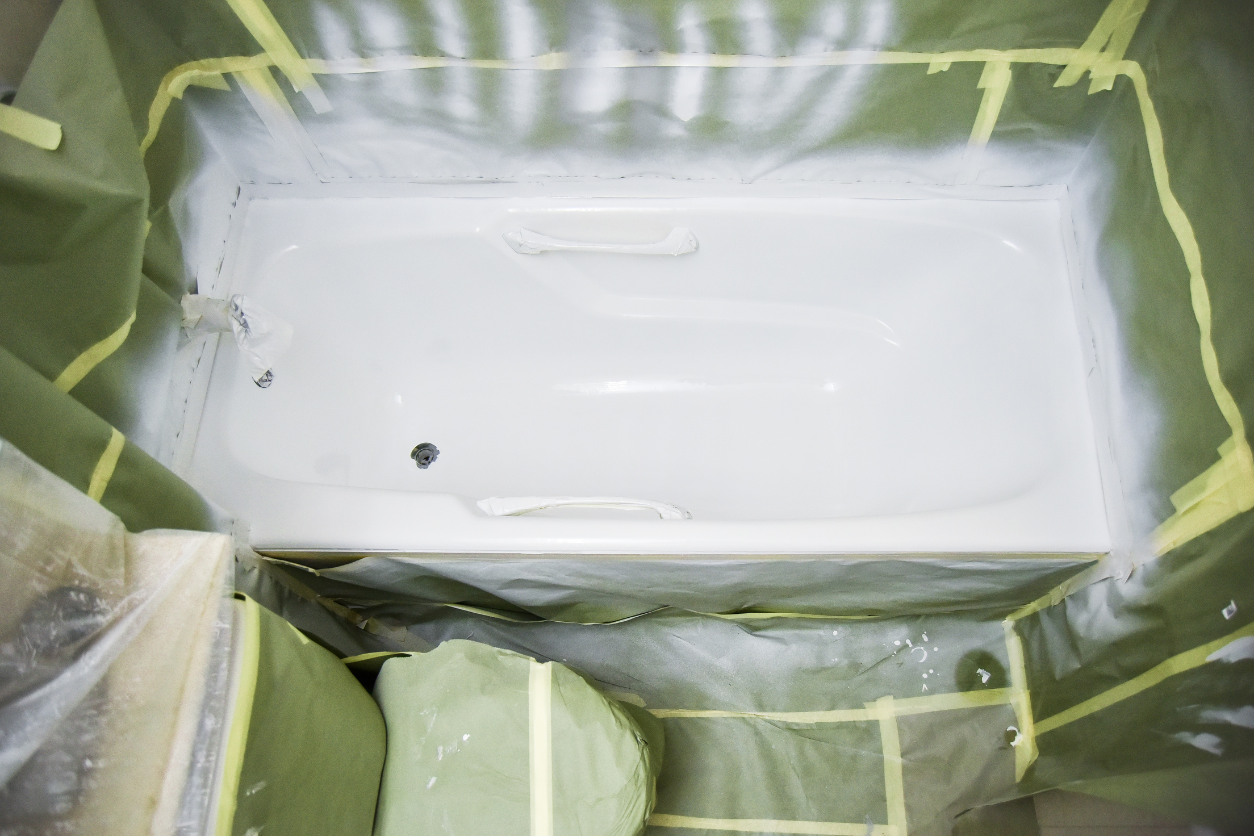
A few years back, I found myself staring at my worn-out bathtub, contemplating whether to replace it entirely or find a more budget-friendly solution. The once-glossy surface was now dull, chipped, and frankly, a bit of an eyesore. Replacing the tub seemed like a massive undertaking—not to mention the cost and hassle of remodeling. That’s when I discovered that with a bit of effort and the right approach, you can breathe new life into your old tub without breaking the bank. I’m going to walk you through how to refinish a bathtub. Let’s turn that tired tub into the sparkling centerpiece your bathroom deserves.
What is Bathtub Refinishing?
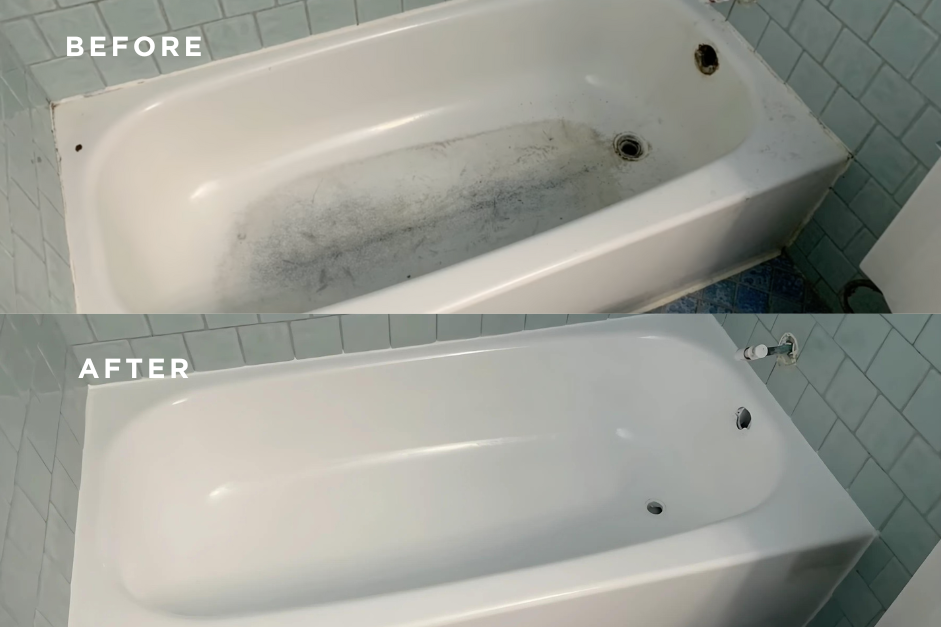
Essentially, refinishing (or reglazing) involves repairing any damage and applying a new coating to the bathtub’s surface. This not only improves its appearance but also adds a protective layer that can extend the tub’s lifespan.
Refinishing is suitable for most types of bathtubs, including porcelain, fiberglass, and acrylic. However, it’s crucial to assess the condition of your tub first. If there are significant structural issues, like cracks or leaks, those will need to be addressed separately.
Tools You’ll Need
To get started on how to refinish a bathtub, you’ll need to assemble the right materials and tools. Here’s a rundown of what you’ll need:
- Safety goggles, latex or latex-free gloves, and a mask
- Heavy-duty cleaner, sponge, and a scraper
- Grits (typically 120 to 400)
- Repair kits for filling chips or cracks
- Refinishing kit specifically designed for bathtubs
- Painting tools
- Painter’s tape and plastic sheeting
- Fans or ventilators to ensure proper airflow
Step 1: Deep Clean the Bathtub
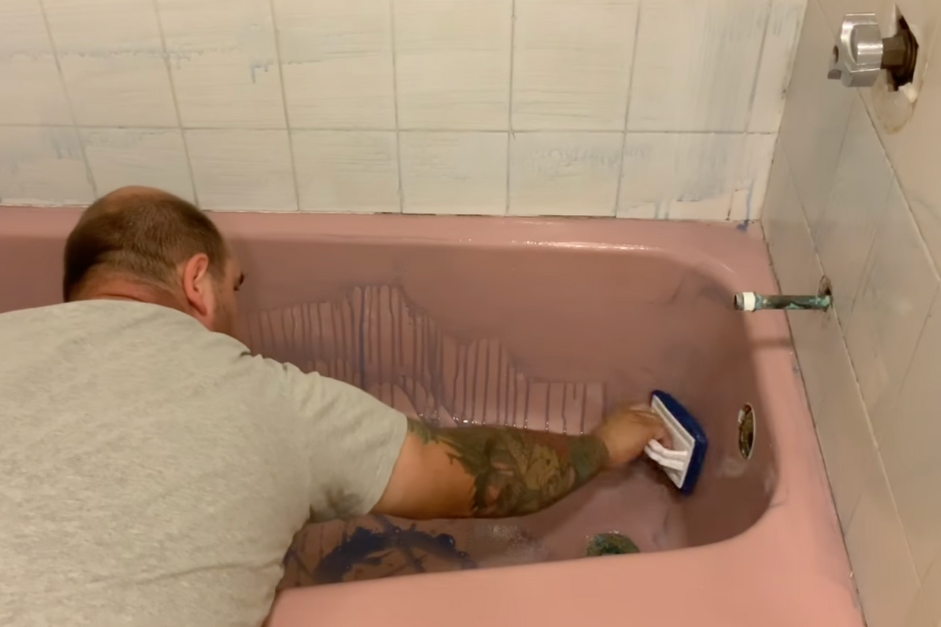
A thoroughly clean surface is crucial for a successful refinish. Start by applying a heavy-duty cleaner to remove soap scum, oils, and mineral deposits. Use a sponge or scrub brush with a long handle to work the cleaner into all areas of the tub.
Pay extra attention to corners and edges where grime tends to accumulate. Rinse the tub thoroughly with warm water to wash away any residue. It’s a good idea to repeat this cleaning process to ensure the surface is spotless.
Step 2: Prep the Bathroom Space
Start by removing any hardware, such as faucets, drain covers, and handles. If they can’t be removed, make sure to mask them securely with painter’s tape.
Next, cover the surrounding areas with plastic sheeting to protect them from dust and paint. This includes walls, floors, and any fixtures near the bathtub. Proper masking will save you a lot of cleanup later.
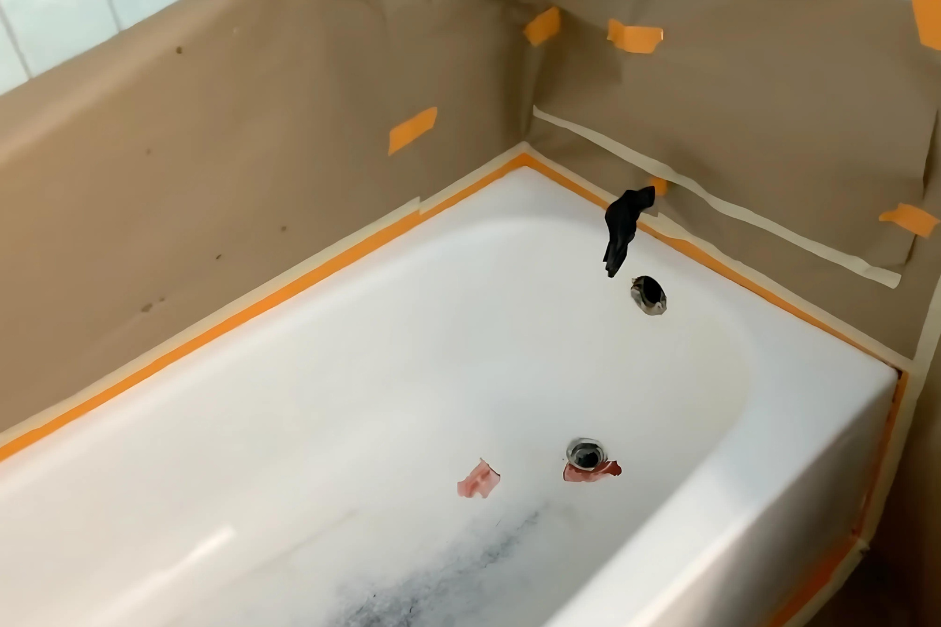
Keep the room well-ventilated. Open windows and doors, and consider using fans to circulate the air. The fumes from the refinishing products can be strong, so good ventilation is essential for safety.
Step 3: Sand the Surface
Sanding is a vital step in refinishing a bathtub because it helps the new coating adhere properly. Begin with a coarser grit sandpaper, like 120, to remove the gloss from the existing surface. This creates a rough texture for the primer to grip onto.
Gradually move to finer grits, such as 220 and then 400, to smooth out the surface. Use circular motions and make sure to cover every inch of the tub. After sanding, wipe down the tub with a damp cloth to remove any dust particles.
Step 4: Repair Chips and Cracks
If your bathtub has any chips, scratches, or minor cracks, now’s the time to fix them. Use a bathtub repair kit, which typically includes a filler or epoxy. Follow the manufacturer’s instructions to mix and apply the filler.
Apply the filler to the damaged areas using a putty knife, ensuring it’s level with the rest of the surface. Allow it to dry completely—this could take a few hours depending on the product. Once dry, sand the repaired spots until they’re smooth and blend seamlessly with the tub.
Step 5: Mask Off
With the tub cleaned, sanded, and repaired, do a final check to ensure all surfaces are ready. Use painter’s tape to mask off areas that shouldn’t be painted, like the edges of tiles, fixtures, and the drain.
Double-check that all protective coverings are secure. It’s easier to prevent accidental splatters than to clean them up later. Make sure your ventilation setup is effective, and put on your protective gear before proceeding.
Step 6: Apply the Primer
Priming enhances the adhesion of the topcoat. Mix the primer according to the instructions provided with your refinishing kit. Using a high-quality brush or roller designed for smooth finishes, apply the primer evenly across the tub’s surface. Work methodically to avoid drips or pooling. Allow the primer to dry completely, which usually takes about 30 minutes to an hour.
Step 7: Mix the Refinishing Coating
The refinishing coating typically consists of a two-part epoxy or acrylic resin. Mix the components as per the manufacturer’s guidelines. It’s important to get the ratios correct to ensure the coating cures properly.
Once mixed, you’ll have a limited window of time (pot life) to apply the coating before it begins to harden. Make sure you’re fully prepared to start painting as soon as the mixture is ready.
Step 8: Paint the Bathtub
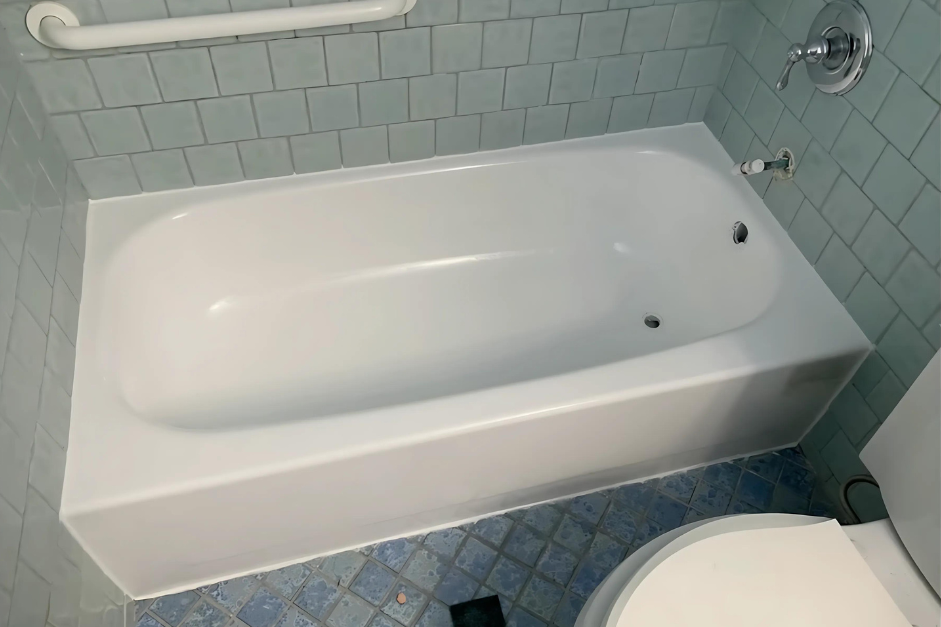
Starting from the top edges, use a clean brush or roller to apply the coating. Work in long, even strokes to minimize brush marks.
It’s best to apply multiple thin coats rather than one thick one. This helps prevent drips and ensures a smooth, durable finish. Allow each coat to dry according to the product’s instructions—typically around 30 minutes to an hour—before applying the next.
Plan for at least two to three coats to achieve full coverage and a glossy finish. Be patient and take your time; rushing can lead to imperfections.
Step 9: Let the Coating Cure
After the final coat, it’s crucial to let the bathtub cure undisturbed. Curing times vary, but generally, you should avoid using the tub for at least 48 to 72 hours. This allows the coating to harden fully and bond to the tub’s surface.
Keep the area well-ventilated during this time to help dissipate fumes and aid in the curing process. It’s also a good idea to prevent dust or debris from settling on the fresh coating.
Step 10: Reinstall Hardware
Once the coating has cured, carefully remove all masking materials and reinstall any hardware you removed earlier. If you notice any rough edges where the tape was, you can gently sand them with a fine-grit sandpaper.
Give the tub a gentle wipe-down with a soft cloth to remove any dust. Now, step back and admire your handiwork—you’ve successfully learned how to refinish a bathtub!
When to Consider Professional Help
While DIY refinishing is rewarding, there are times when it’s best to call in the professionals. If your bathtub has significant damage, such as large cracks or structural issues, a professional refinisher can assess and address these problems.
Refinishing is generally more cost-effective than replacing a bathtub. Replacing involves not only the cost of the new tub but also labor, demolition, and potential plumbing adjustments. Refinishing, on the other hand, can be accomplished with a modest budget and saves you the hassle of a major renovation.
There’s something incredibly gratifying about taking on a project like this and seeing it through to completion. Not only have you learned how to refinish a bathtub, but you’ve also added value to your home and created a refreshed space that you can enjoy every day.
Decades of Combined Expertise
Best Buy Guidebook is a culmination of online publishing lessons learned. From SEO to paid ads, our team has experienced the highest of highs and the lowest of lows. Our goal now is simple: Arm readers with the most information possible.
