Dryers are one of those household appliances we rely on without thinking too much about them — until something goes wrong. But a clogged dryer vent can lead to more than just extended drying times or wrinkled clothes; it can also be a serious fire hazard. According to the U.S. Fire Administration, failure to clean the dryer vent is one of the leading causes of dryer-related fires. Cleaning your dryer vent regularly isn’t just about efficiency — it’s about safety. Knowing how to clean your dryer vent can save you from potential disaster, and it’s something that’s easier than you might think.
Most people don’t realize that cleaning the lint trap after each load is not enough to keep your dryer running efficiently. Over time, lint builds up in the dryer vent itself, reducing airflow and creating a perfect environment for overheating. If you’re noticing that your dryer is taking longer to dry clothes or that the exterior of the dryer is hot to the touch, those are signs that it’s time for a deep clean. Let’s break down exactly how to clean a dryer vent, from start to finish, and why it’s so important to keep up with this simple maintenance.
How to Clean Dryer Vent
First things first, cleaning the dryer vent involves more than just emptying the lint trap. The vent system, which extends from the back of your dryer to the outside of your house, also needs attention. Depending on how often you use your dryer, it’s recommended that you clean the vent every 3 to 6 months. Here’s how to clean your dryer vent the right way:
1. Unplug and Move the Dryer
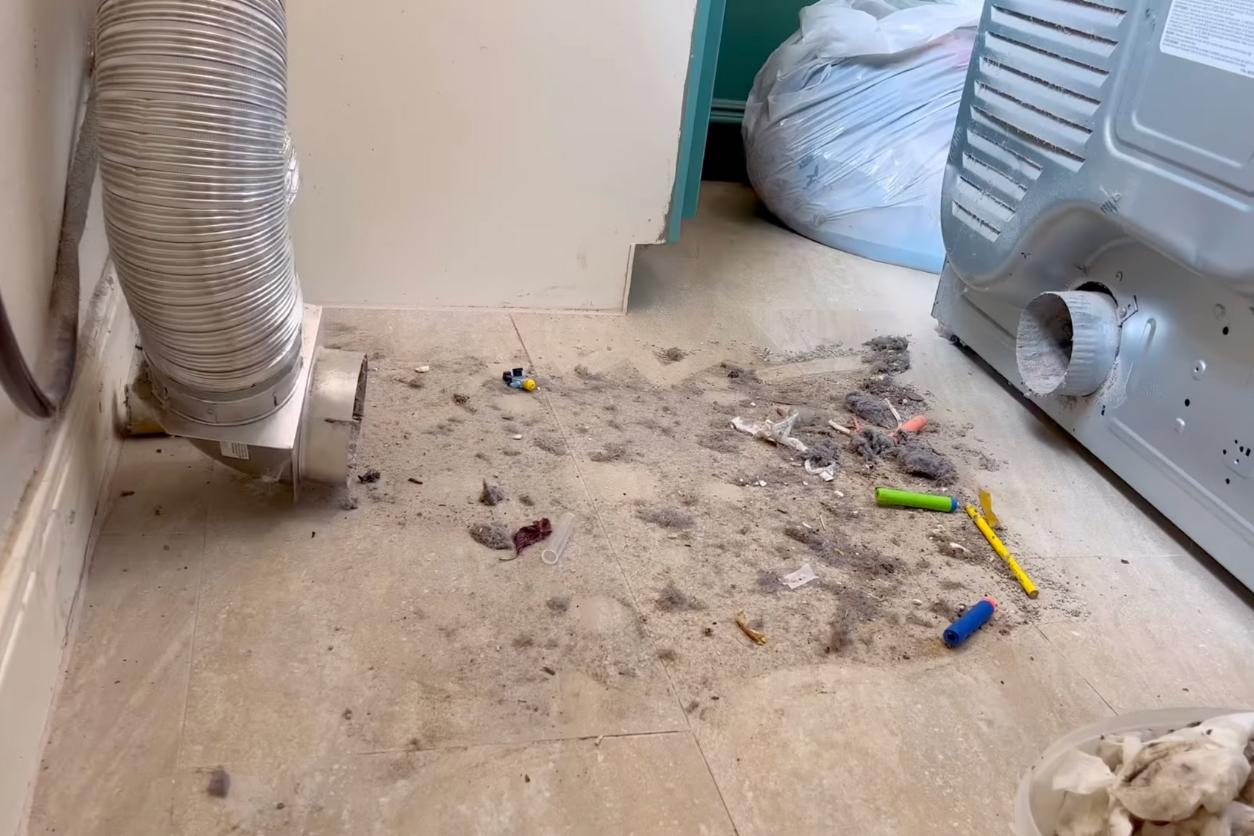
Start by unplugging your dryer from the electrical outlet. If you have a gas dryer, be sure to turn off the gas valve before doing anything else. Then, carefully pull the dryer away from the wall to access the vent hose. This is where the long-handle brush comes in handy, especially if the space behind your dryer is tight. The goal is to give yourself enough room to safely clean the entire vent system.
2. Disconnect the Vent Hose
Once you’ve moved the dryer, locate the vent hose that connects the dryer to the wall. In most cases, the hose is held in place by a clamp or duct tape. Loosen the clamp or remove the tape and carefully detach the hose. Be prepared for lint to fall out as you do this. It’s not uncommon for the hose to be clogged with lint, so don’t be surprised if there’s a lot in there.
3. Vacuum Out the Lint
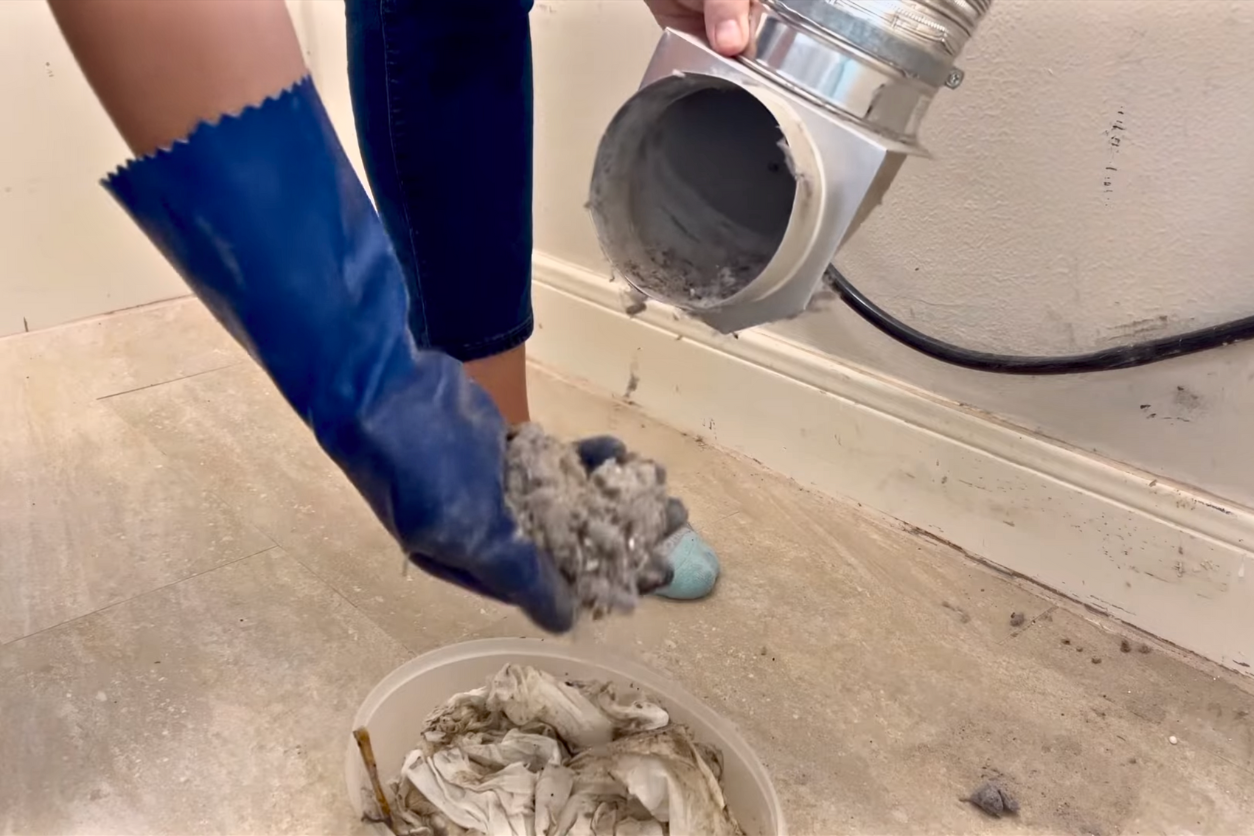
With the vent hose detached, use a vacuum cleaner to remove as much lint as possible from the inside of the hose and the opening on the dryer itself. A vacuum with a hose attachment works best for this, allowing you to reach further into the vent. This step is crucial for getting rid of the bulk of the lint that’s built up over time.
4. Use a Dryer Vent Brush
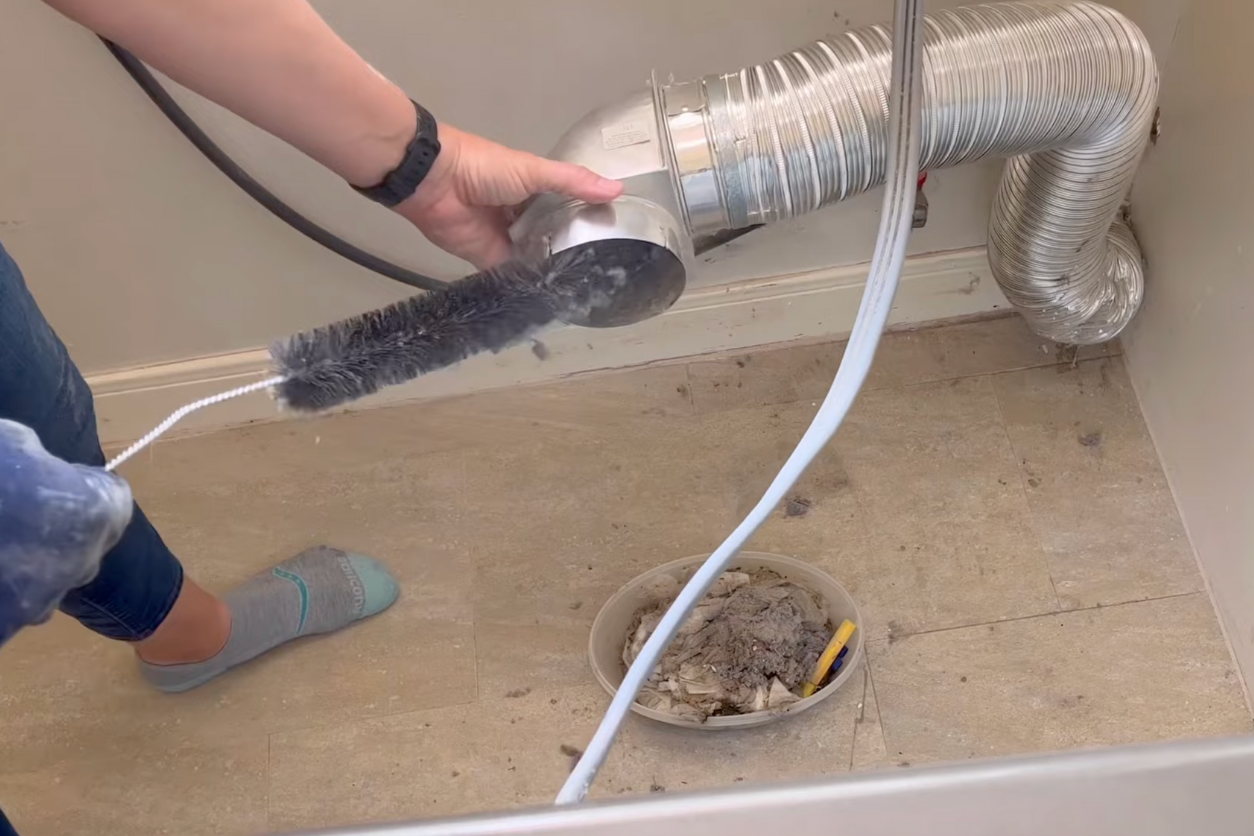
After vacuuming, it’s time to break out the dryer vent cleaning brush. These brushes are designed to fit into the vent and remove any stubborn lint stuck to the sides. Insert the brush into the vent opening and move it back and forth in a twisting motion. This will help dislodge any remaining lint. Be sure to do this for both the dryer-side vent and the vent on the wall. The long-handle brush is especially useful here for getting deep into the vent.
5. Clean the Exterior Vent
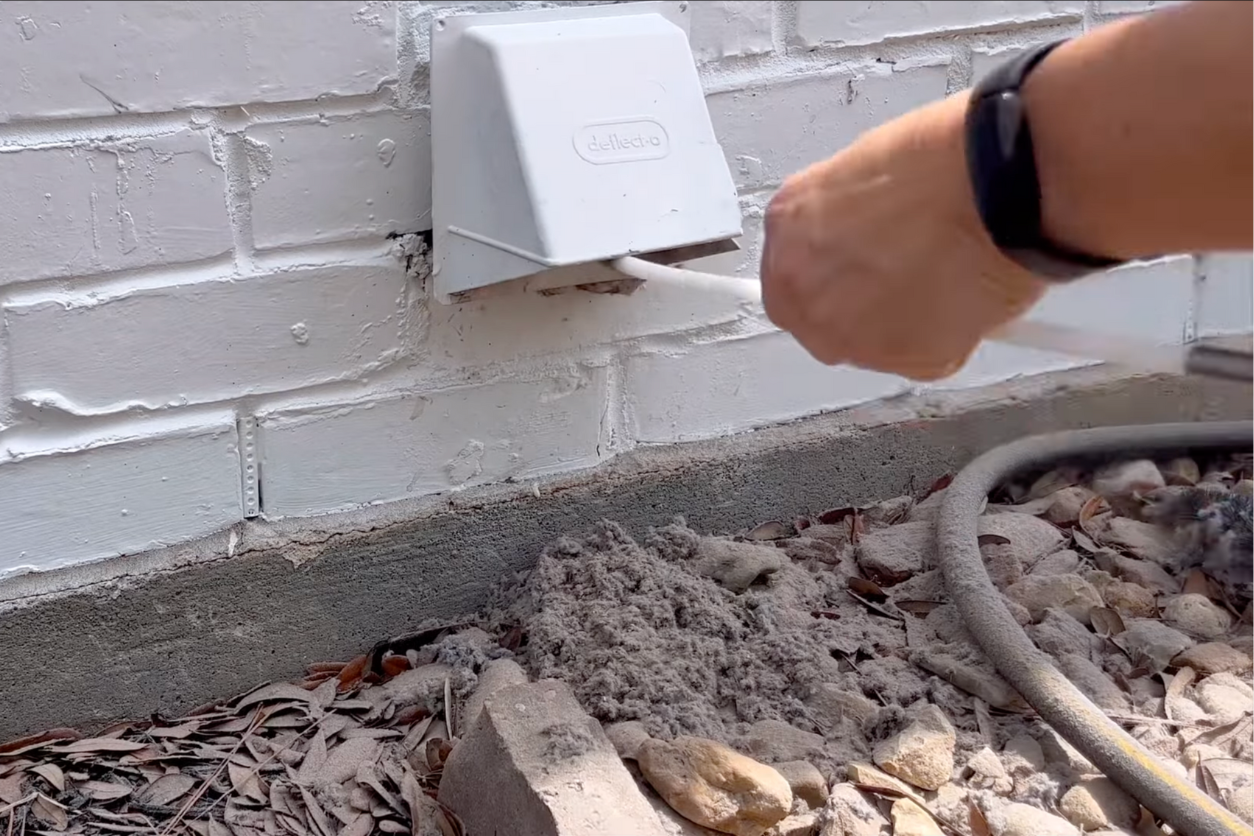
Now, head outside to where your dryer vent exhausts. Remove the cover, which is typically held in place by screws or a clip. Check for lint buildup around the slats and hinges. If the vent cover doesn’t open and close smoothly, use a little WD-40 to lubricate it. Use the dryer vent brush again to clean out the vent pipe from the outside. You may also want to use the vacuum to ensure you’ve cleared everything out.
6. Reconnect Everything
Once you’ve cleaned both the interior and exterior vents, it’s time to reassemble. Reconnect the vent hose to the back of the dryer, making sure it’s secure with the clamp or duct tape. Then, move the dryer back into place and plug it back in. If you have a gas dryer, don’t forget to turn the gas valve back on.
7. Run an Empty Cycle
To ensure everything is functioning properly, run an empty drying cycle for about 10 to 15 minutes. This will help blow out any remaining lint or dust and confirm that the vent is clear.
Common Dryer Vent Cleaning Mistakes
When it comes to cleaning your dryer vent, there are a few mistakes people tend to make. Avoiding these will ensure that your dryer works efficiently and safely.
Using Too Much Force
When cleaning the vent with a brush, it’s important not to use excessive force. Scrubbing too hard can damage the vent hose, especially if it’s made of a softer material like foil. A gentle, twisting motion is all you need to dislodge the lint.
Skipping the Exterior Vent
Many people forget about the exterior vent, but this is a crucial part of the cleaning process. Lint can easily build up in the exterior vent, blocking airflow and creating a fire hazard. Always make sure to clean both the interior and exterior portions of the vent.
Not Cleaning the Lint Trap
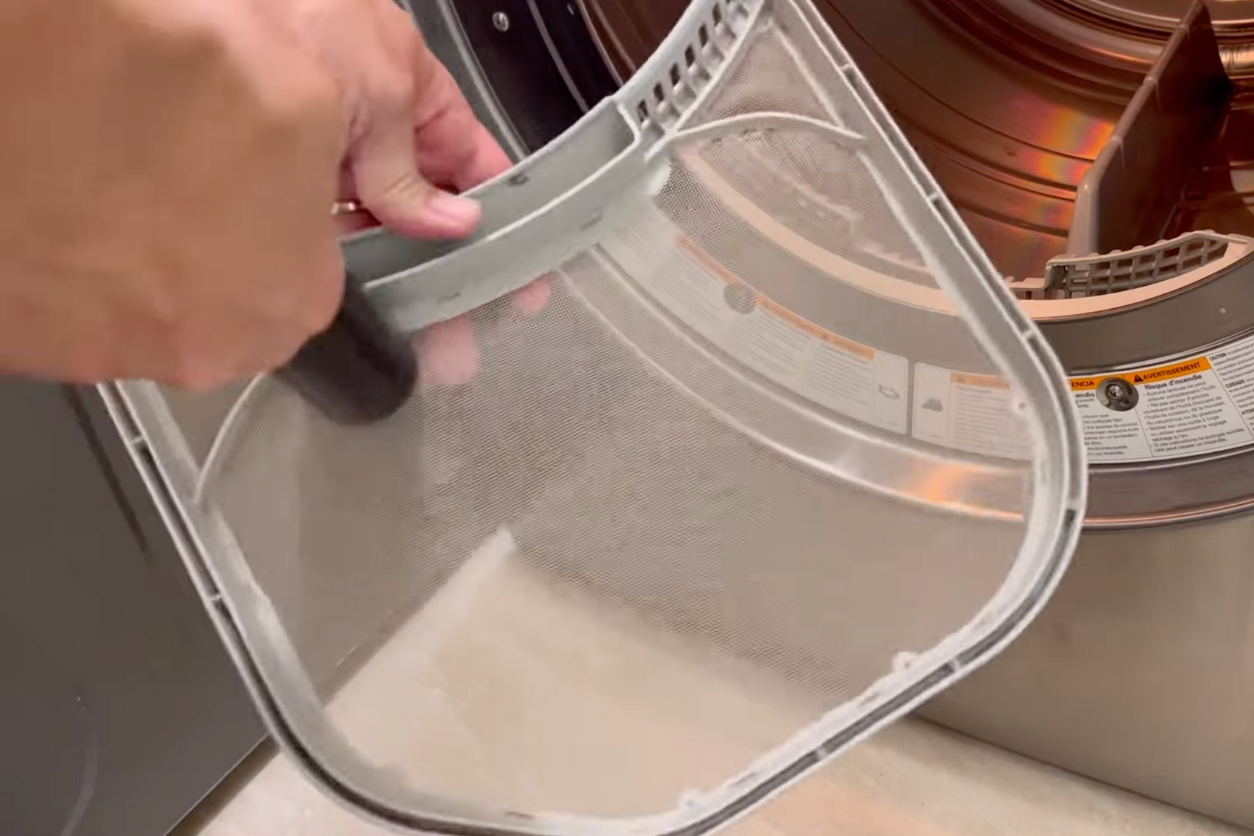
While cleaning the lint trap isn’t the same as cleaning the vent, it’s still an important step that should be done after every load. A clogged lint trap reduces airflow, making your dryer work harder and increasing the risk of a fire. If you use fabric softener sheets, be sure to wash the lint trap screen with warm water and dish soap every few months to remove any buildup that can block airflow.
How to Tell If Your Dryer Vent Needs Cleaning
If you’re unsure whether your dryer vent needs cleaning, there are a few key signs to look for:
- Longer drying times: If your clothes are taking longer to dry than usual, it’s a sign that the vent may be clogged.
- Burning smell: If you notice a burning smell when your dryer is running, turn it off immediately and clean the vent.
- Hot dryer exterior: If the outside of your dryer feels hotter than normal, it could be due to restricted airflow from a clogged vent.
- Excess lint: If you notice more lint than usual around the lint trap or on your clothes, it’s time to clean the vent.
Maintaining Your Dryer Vent Between Cleanings
Once you’ve gone through the process of cleaning your dryer vent, there are a few things you can do to keep it running smoothly between cleanings:
- Clean the lint trap after every load. This is the simplest way to keep your dryer vent from clogging.
- Vacuum the area around the dryer. Lint can easily fall behind and around the dryer, so keeping the area clean helps prevent buildup.
- Inspect the vent regularly. Every few weeks, take a look at the exterior vent to make sure it’s free of debris.
How Often Should You Clean Your Dryer Vent?
Beyond just keeping your clothes dry, cleaning your dryer vent is essential for preventing fires. According to the National Fire Protection Association (NFPA), dryer-related fires cause an estimated $238 million in property damage each year. Lint is highly flammable, and when it builds up in the vent, it creates the perfect conditions for a fire to start.
The frequency of dryer vent cleaning depends on how often you use your dryer. For households that do laundry frequently, it’s a good idea to clean the vent every 3 months. For those who use the dryer less often, cleaning it twice a year should suffice. If you notice longer drying times or the dryer becoming unusually hot, it’s a sign that your vent needs cleaning sooner.

