How to Clean All Types of Tile Flooring (The Right Way)

Keeping your tile flooring clean requires more than just running a mop over it every once in a while.
Tile flooring looks sleek in any room, but when it gets dirty, it can be a nightmare to clean. The build-up of stains, dullness, or those annoying grout lines that never seem to stay clean for long can make your tile flooring a bit of a challenge. But the good news is, with a little know-how and the right tools, you can keep your tile floors looking as spotless as the day they were installed.
There are so many types of tiles, from ceramic to slate to vinyl, each requiring its own care. And then there are those common mistakes I see so many people make when cleaning their floors, which can cause permanent damage to your tiles.
Different Types of Tile Flooring and How to Clean Them
Tile flooring comes in a variety of materials, each with its own maintenance needs. Understanding the type of tile you have is crucial because using the wrong cleaning methods can damage the surface or reduce its longevity. Let’s explore the most common types of tile flooring and the specific cleaning methods that suit each material.
Related: Are Steam Cleaners Better at Cleaning Floors than a Mop?
View this post on Instagram
Ceramic and Porcelain Tiles
Ceramic and porcelain tiles are both durable and low-maintenance, which is why they’re commonly used in many households. But over time, even with regular mopping, you might notice that your tile floors look dull or stained. This is often due to grime buildup, especially in the grout lines, which simple mopping won’t always fix.

How to clean ceramic and porcelain tiles: To restore the shine, you’ll need more than just water and soap. Start by using a mild alkaline cleaner, which is effective at cutting through dirt without being too harsh on the tile. Mix it according to the product instructions (usually around three parts water to one part cleaner), and apply it to a small test area first.
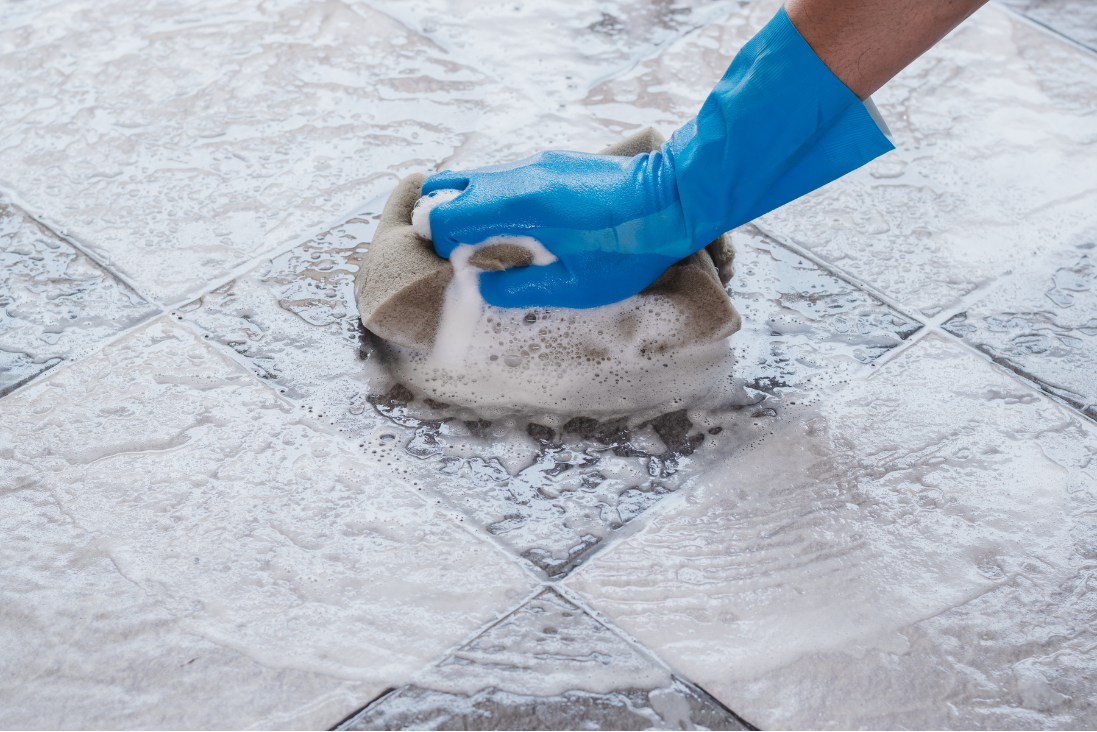
Once you’ve applied the cleaner, use a scrubbing brush with a long handle to work it into the grout, and an emulsifying pad for the tile surface itself. The key here is not to rush. Allow the solution to sit for 10 to 12 minutes, and agitate it every few minutes to lift the dirt. Afterward, wipe it all down with a clean sponge and a separate bucket of fresh water to remove the residue.
The final step is to dry the tiles completely using a towel, ensuring no moisture is left behind, which can lead to water spots. For larger areas, repeat this process in small sections to avoid the cleaner drying out before you have a chance to scrub. Once you’re satisfied with the results, regular maintenance with a pH-neutral cleaner will help keep your tiles looking fresh for years to come.
Common mistake: A common misconception is that ceramic and porcelain tiles can withstand any cleaner, but using the wrong products, such as highly acidic cleaners, can actually damage the finish.
Natural Stone Tiles
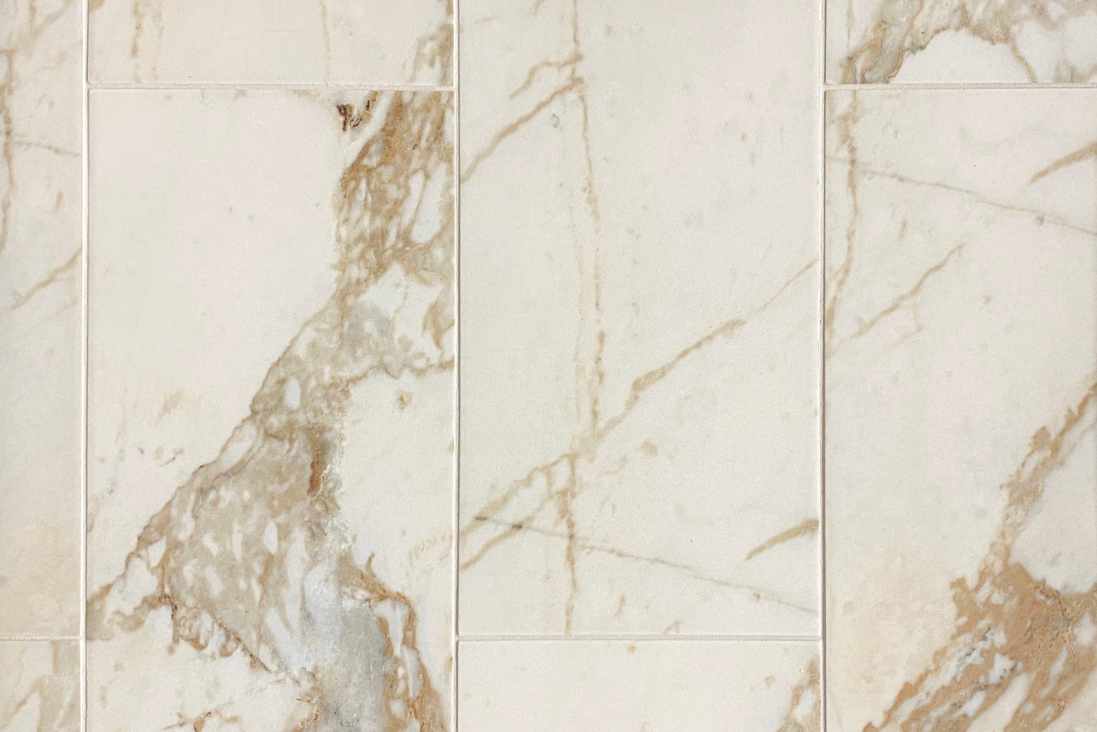
Stone tiles—such as slate, marble, granite, and travertine—are beautiful but far more delicate compared to ceramic and porcelain tiles. Each of these materials has specific requirements because they are porous and can easily be damaged by improper cleaning.

How to clean natural stone tiles: Start by thoroughly vacuuming or sweeping the area to remove loose debris. Once that’s done, focus on the grout lines with a brush to lift dirt from these deeper areas. If you notice significant dirt build-up, a mild degreaser can be helpful, but make sure it’s a pH-neutral cleaner specifically designed for natural stone. Avoid acidic substances like vinegar or baking soda, as they can etch and dull the surface of the stone.
For the tiles themselves, scrubbing gently with a bristle broom or a soft brush is often enough to remove most grime. If you have access to a spin brush or a machine scrubber, it can speed up the process. After scrubbing, use a shop vac to extract all the dirty water from the floor. This ensures that no debris gets embedded back into the grout lines or stone surface.
Once the floor is clean, drying it properly is crucial. You want to avoid letting water sit on the surface, as it can leave behind spots or stains. Regular maintenance with gentle dish soap or stone-safe products will help keep natural stone tiles looking their best, preserving their beauty without causing damage.
Common mistakes: One major misconception is that natural stone is as durable as other tiles, but this is far from true. Using harsh chemicals or even basic household cleaners can ruin the surface. Regular sealing is also a must to prevent deep stains.
Vinyl and Linoleum Tiles
Often confused with one another, vinyl and linoleum tiles are both resilient flooring options that are easy on the feet and low maintenance. While vinyl is made from PVC, linoleum is derived from natural materials like linseed oil, making their cleaning processes slightly different.

How to clean vinyl tiles: Vinyl is tough and waterproof, which means you can use water and a mild detergent to clean it regularly. However, never soak the floor, as water can seep into the seams, causing the adhesive underneath to break down. A damp mop or microfiber cloth is ideal. For scuff marks, a soft cloth dipped in rubbing alcohol usually works well. Avoid abrasive scrubbing tools, which can scratch the vinyl’s surface.
How to clean linoleum tiles: Linoleum, being more sensitive to moisture than vinyl, should not be cleaned with a soaking wet mop. Instead, use a slightly damp mop and a pH-neutral cleaner. Rinse off any cleaner with clean water and dry the floor immediately to prevent moisture from seeping into the seams.
If your linoleum floors have been neglected for a while, restoration is possible. You can use rubbing alcohol combined with a plastic brush to scrub away built-up dirt. This method is particularly effective for floors that have accumulated grime over the years. For additional shine, a good-quality linoleum polish applied every six months will keep the surface looking refreshed.
One key thing to remember is to avoid placing rubber-backed rugs on linoleum, as they can cause yellowing. Stick to colorfast rugs to protect the surface. Also, never use ammonia-based cleaners, as they can strip away polish and damage the floor.
Common mistakes: One of the biggest mistakes with vinyl and linoleum is over-wetting the floor, which can cause permanent damage.
Quarry Tiles
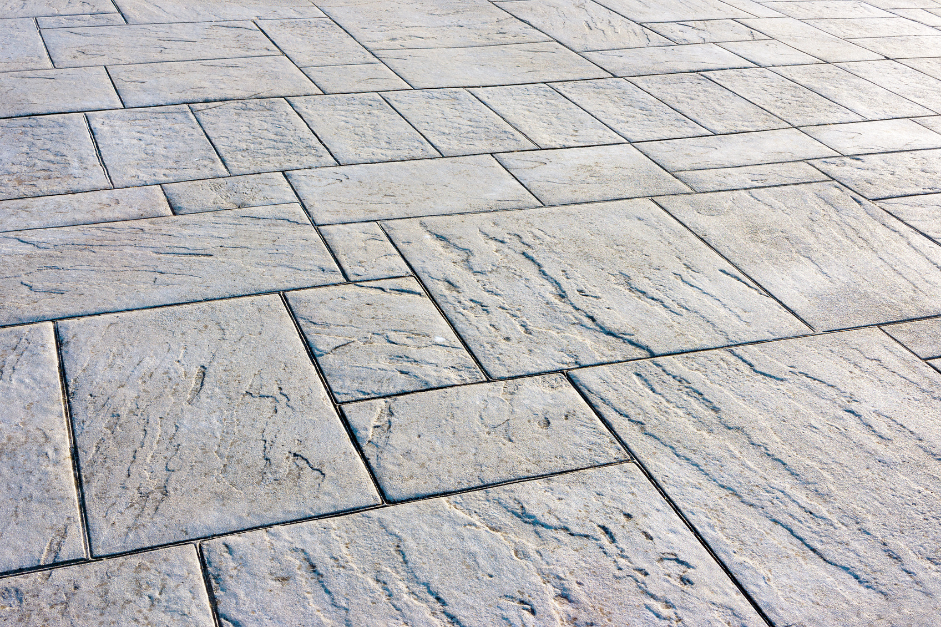
Quarry tiles are durable and have a rustic appearance, often used in utility rooms or areas that see heavy traffic. They’re made from rougher materials, unlike the finer clays found in Victorian terracotta tiles, which makes them tough but also prone to accumulating stubborn dirt over time.

How to clean quarry tiles: Do routine cleaning with a neutral pH cleaner and a soft mop. Always mop up spills quickly, especially if they are greasy or acidic. Quarry tiles may also benefit from periodic sealing to prevent stains.
Deep-cleaning and restoring quarry tiles often involves a multi-step process, especially if they have been neglected or covered for many years. First, remove any surface contaminants such as glue, plaster, or concrete that might be stuck to the tiles from previous renovations.
Next, an acid wash is applied to break down any lime-based plaster or cement residues left on the tiles. The acid helps release the ingrained dirt from the rough surface. Follow this with an alkaline wash to neutralize the acid and extract remaining dirt. After the washes, the tiles need to dry thoroughly for a few days before applying a sealer. A solvent-impregnated sealer enhances the natural color of quarry tiles and protects them from future wear.
Common mistakes: A common misconception is that quarry tiles are impervious to stains because of their tough appearance. However, because they are unglazed, they are highly absorbent and require sealing to maintain their look.
Related: How to Clean Your Hardwood Floors Without Ruining Them
The Role of Grout in Tile Maintenance
Grout, often overlooked, plays a crucial role in tile flooring maintenance. Even if your tiles are pristine, dirty or cracked grout lines can instantly make a floor look grimy. Many homeowners mistakenly think that any tile cleaner will work on grout too. But grout requires special attention.
The gritty surface of grout means it holds onto dirt and stains more than tile, so a specific grout cleaner and brush are necessary. A misconception is that scrubbing grout lines with bleach will clean them effectively. While bleach may make them appear brighter in the short term, it can break down the grout over time, leading to cracks and weakening the structural integrity. Instead, opt for cleaners specifically designed for grout or make a gentle solution of baking soda and water.
|
Common Tile Cleaning Mistakes
When it comes to cleaning tile floors, there are a few common mistakes that can lead to more harm than good. The truth is, while tile flooring is durable, improper cleaning methods can damage the surface and shorten the lifespan of the material. Some misconceptions are more widespread than you might think, and recognizing these early can save you a lot of hassle in the long run.
Neglecting Regular Maintenance
People often assume that because tile is hard and durable, it doesn’t get dirty as quickly as other floor types. However, dust, dirt, and grime can accumulate in grout lines and on the surface, dulling the shine of your tiles. Regular sweeping or vacuuming helps prevent this buildup, and wiping spills right away can keep tiles looking fresh longer.
Using Harsh Cleaners on Natural Stone
One of the biggest misconceptions is that all tiles can handle any cleaner. Natural stone tiles like marble, slate, and granite require special care. Unlike ceramic or porcelain, these materials are porous, meaning harsh cleaners like vinegar, lemon, or anything acidic can cause etching, leaving dull spots and surface damage. Instead, opt for pH-neutral cleaners specifically formulated for stone to keep them in good condition.
Skipping the Rinse
Many people don’t realize that detergent residue can build up on the surface, making your tiles look dull or even sticky. It’s not just about washing your floors, it’s also about making sure no soap is left behind to attract more dirt. Use clean water after your initial mop to remove any lingering cleaner.
Thinking All Grout Cleaners Are the Same
Grout is often the first part of tile floors to get dirty. While it may seem logical to use a heavy-duty grout cleaner to scrub it away, not all cleaners are safe for every type of grout. Some abrasive cleaners can actually erode grout lines over time. Stick with mild cleaners or natural solutions like baking soda and water.
Using Too Much Water
Many people think that more water equals a better clean, but that’s not the case with tile flooring, especially when it comes to grout. Over-wetting can lead to water seeping into the grout and subflooring, which can weaken both. This is particularly risky with natural stone tiles and unsealed grout. When cleaning, use a damp—not soaked—mop, and dry the floor immediately afterward.
Scrubbing with the Wrong Tools
While it may seem that a hard-bristled brush or steel wool is the best way to tackle tough stains, using abrasive tools on your tile floors can scratch the surface, particularly with ceramic or porcelain tiles. For everyday cleaning, stick with softer brushes or microfiber mops. Use a spin brush for targeted scrubbing on grout and textured tiles.
Not Sealing Properly
Many homeowners aren’t aware that sealing is crucial, especially for natural stone and grout. Sealing creates a protective layer that prevents stains and moisture from penetrating the material. Without sealing, stains are more likely to set in, and moisture can seep into grout lines, leading to discoloration or even damage over time. Make sure to reseal your tile floors regularly based on the manufacturer’s recommendation—typically every 1-3 years.
Decades of Combined Expertise
Best Buy Guidebook is a culmination of online publishing lessons learned. From SEO to paid ads, our team has experienced the highest of highs and the lowest of lows. Our goal now is simple: Arm readers with the most information possible.
