Learning how to digitize artwork and photos may seem like a simple task at first glance, but there’s a lot more to it when you’re aiming for the best quality. If you’re working with hand-drawn art, watercolors, or even photos that hold sentimental value, the goal is to preserve as much of the original detail as possible. It’s not just about getting the artwork onto your computer screen—it’s about making sure it looks just as vibrant, crisp, and professional as it does in real life.
How to Digitize Artwork
I know firsthand how tricky it can be to get the details just right. Whether you’re looking to archive family photos or create digital artwork for sharing online, the process can feel overwhelming if you don’t have the right tools or steps. But with the right approach, it’s not as daunting as it seems. Let’s break down how you can make the most of this process, step by step.
Step 1: Understanding the Basics of DPI and File Formats

Before you even start scanning your artwork or photos, there are two key terms you need to understand: DPI (dots per inch) and file formats. These two factors will have the most impact on the quality of your digital artwork and how it’s displayed or printed. DPI essentially determines how much detail your scanner will capture from your original piece, and higher numbers generally mean sharper and more detailed scans. For professional quality, experts recommend scanning at 300 DPI or higher, but for more intricate artwork or large prints, you might want to go up to 600 DPI.
Now, onto file formats. The most common formats you’ll come across are JPEG, PNG, and TIFF. Each has its own pros and cons. JPEG files are compressed, meaning they lose some detail in favor of smaller file sizes. This format works well for web use, but it’s not ideal for preserving every brushstroke of your artwork. On the other hand, TIFF files retain all the details and don’t compress the image, which makes them perfect for archival purposes. They are larger in size, so keep that in mind when storing multiple images.
Step 2: Scanning Your Artwork

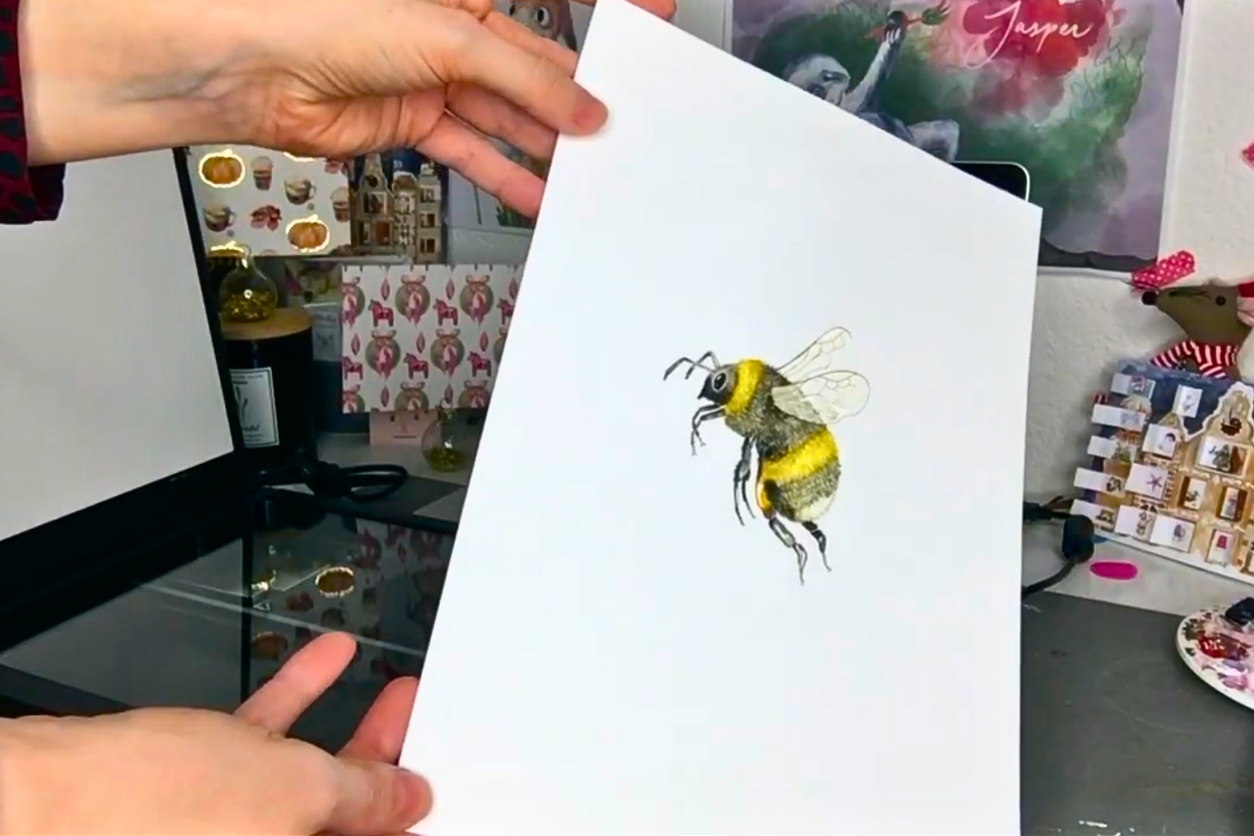
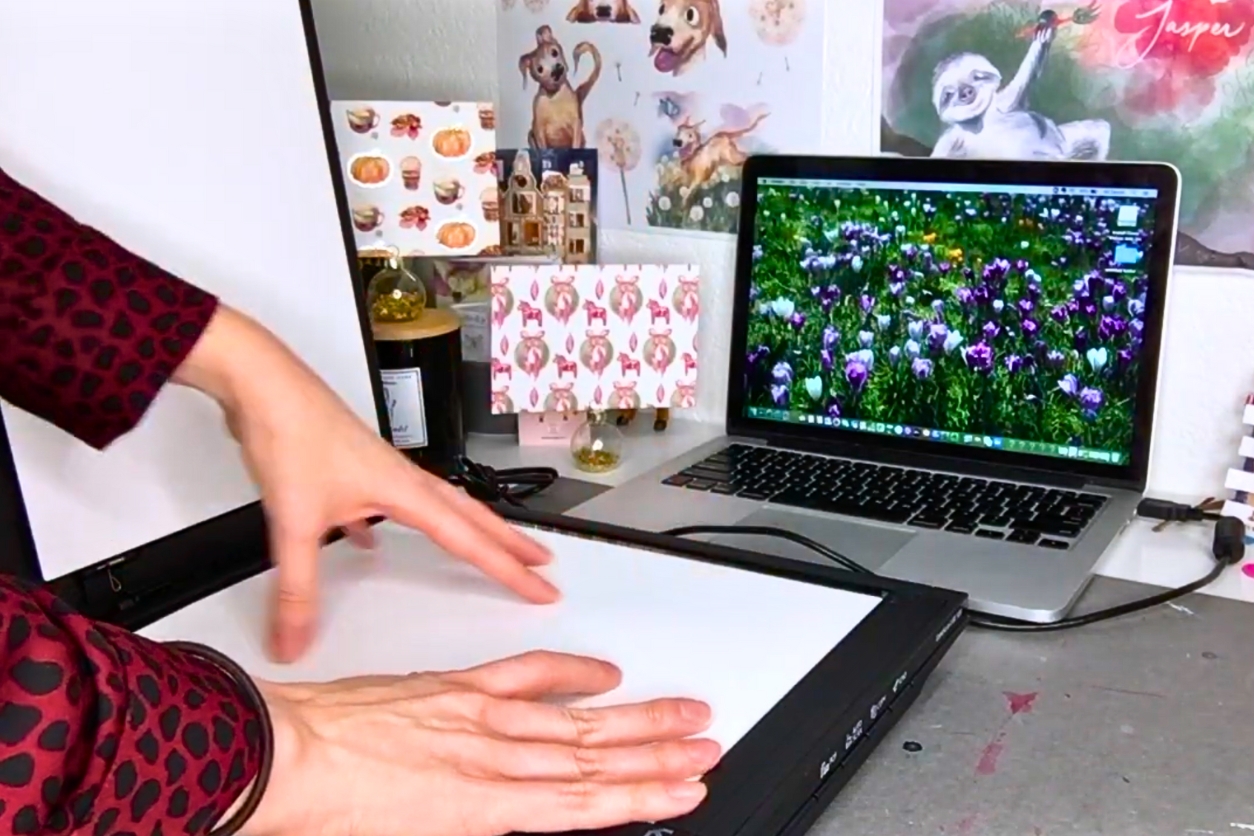
The next step is getting your artwork or photo onto your computer. If you’re working with physical pieces, you’ll need a document scanner. Place your artwork face down on the scanner bed, making sure it’s aligned properly. Depending on the type of scanner you have, you may need to weigh down the lid if the paper is slightly wavy or not lying flat. A smooth surface is key to avoiding distortion in your digital copy.
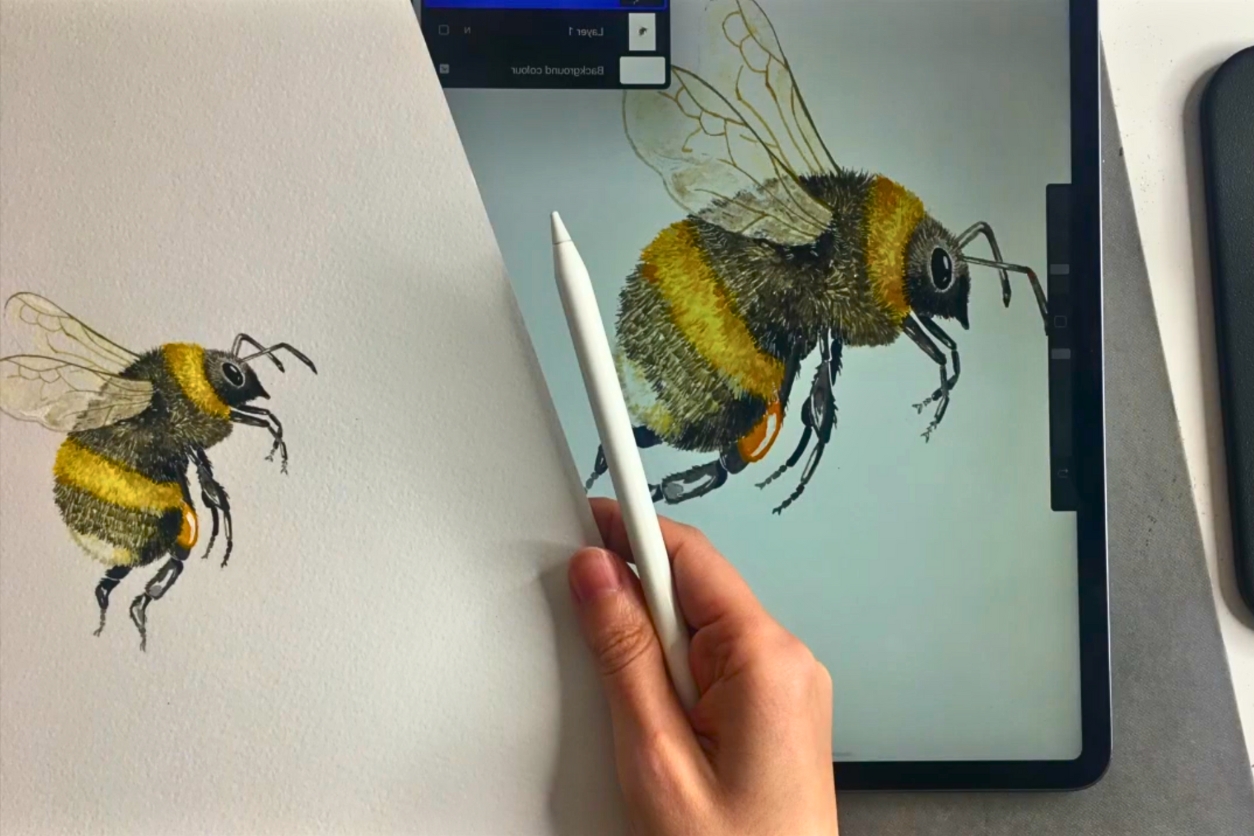
If you’re scanning a photograph, things are usually straightforward, but with artwork, especially pieces done on textured paper, there’s a little more to consider. For watercolors, for instance, the paper’s texture can sometimes show up on the scan. Some people like this effect because it gives the digital version more character, but if you’re looking for a clean, smooth result, you may need to adjust the scan settings or edit out the texture later.
Step 3: Editing Your Scan
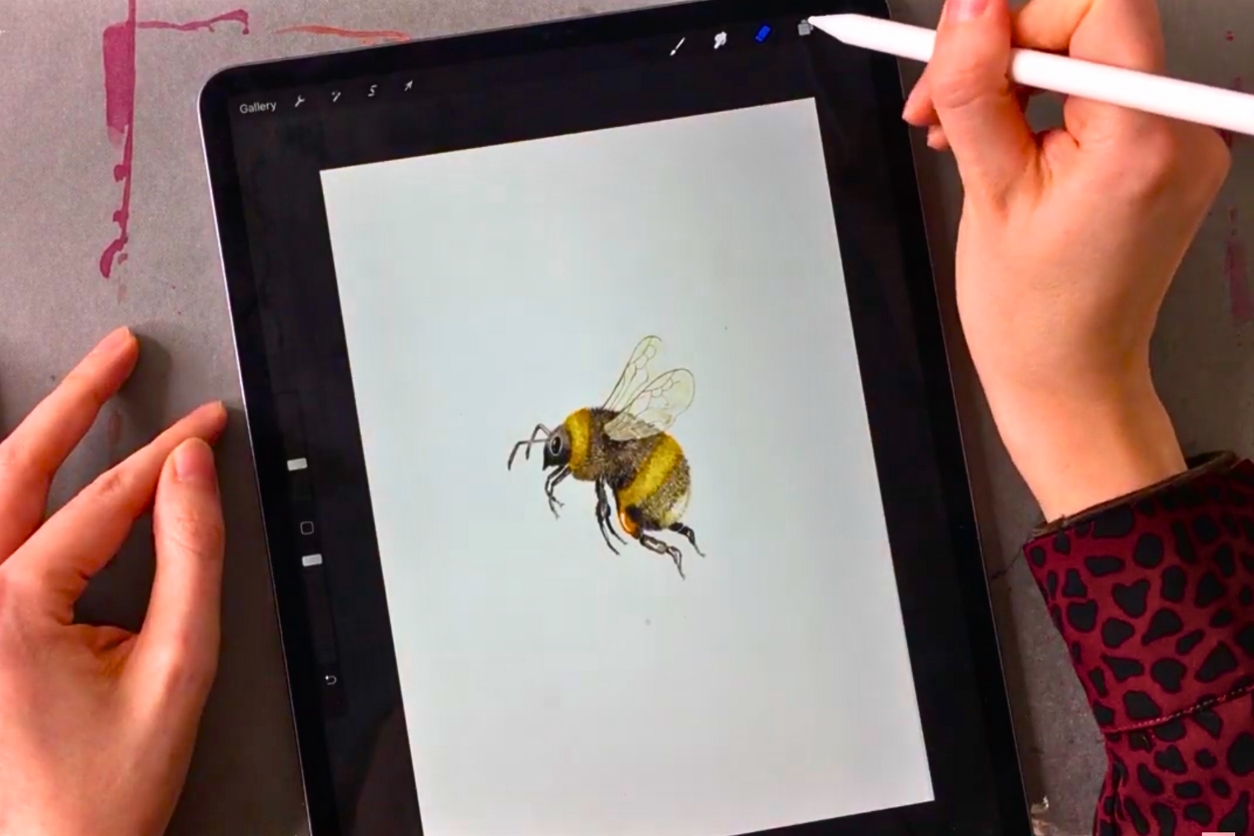
Once you’ve scanned the artwork, the next step is to clean it up. Even with the best scanner, there are often small imperfections—dust spots, uneven colors, or shadows around the edges. This can all be easily fixed using software like Photoshop or Procreate (if you prefer working on a tablet). The key here is to be gentle. Over-editing can strip away the unique qualities of your artwork.

Start by cropping the scan to remove any unwanted borders or background. Then, adjust the brightness and contrast to make sure the colors are as true to the original as possible. For photos, you might want to experiment with some basic color correction, especially if the photo has faded over time.
One common issue when digitizing artwork is that the whites in your image (the paper background) can sometimes look a bit off—either too gray or too yellow. A quick fix for this is to use the “levels” tool in your editing software to adjust the white balance, making sure the paper looks bright and clean without altering the colors of the actual artwork.
Step 4: Saving in the Right Format
Once your artwork or photo is cleaned up and looking its best, it’s time to save it. This is where the choice between JPEG, PNG, and TIFF comes into play again. If your goal is to share your digital artwork online—on Instagram, for instance—a JPEG might be the best choice because of its smaller file size. Just remember that with JPEGs, every time you save the file, some image quality is lost due to compression.
For artwork that needs to retain its full quality, especially if you plan to print it later, saving as a TIFF is the better option. TIFF files preserve every detail and don’t compress the image, so your artwork will look as crisp and vibrant in print as it does on your screen. PNG is a good middle ground—it retains more detail than a JPEG but isn’t as large as a TIFF file.
Step 5: Organizing Your Files and Preparing for Print
Now that you’ve digitized your artwork or photo, you’ll want to organize it properly. Trust me, you don’t want to end up with hundreds of files named “Scan1,” “Scan2,” etc. Name your files in a way that makes them easy to find later—something like “Watercolor_Floral_300DPI” works well for artwork, while for photos, you might want to include the date or event in the file name.
If you’re planning to print your digital artwork, take a moment to check your file’s dimensions and resolution. For high-quality prints, a DPI of 300 or higher is essential. Lower resolutions might look fine on your computer screen but could come out blurry or pixelated in print.

