A Simple Guide to Repairing a Broken Window Seal
When a window seal fails, you’ll likely notice it right away—even if you don’t initially realize what’s causing the issue. A damaged window seal often presents as condensation trapped between the panes of your double-glazed windows, foggy views, or unexplained drafts slipping through your home. Fixing a window seal might seem daunting, especially if you’ve never tackled this type of repair before, but understanding exactly how the window seal functions makes the task surprisingly manageable. More importantly, timely repairs prevent further issues like increased energy bills, moisture damage, and reduced home comfort.
What Happens When the Window Seal Breaks
When your window seal breaks, moisture seeps in between the window panes. Typically, double-pane windows contain a gas, usually argon, that provides insulation. A robust seal keeps this gas trapped between the panes, maintaining thermal efficiency and clarity. However, once the seal breaks, that insulating gas escapes, and moisture infiltrates the space, causing foggy glass and significantly reduced insulation.
Aside from the visual annoyance, a broken seal directly affects your home’s energy efficiency. With diminished insulation, your heating and cooling systems must work harder to maintain your desired indoor temperature. Over time, this can translate into noticeably higher utility bills. Additionally, persistent moisture can lead to mold growth around the window frames, contributing to health concerns and structural issues. It’s important to address window seal problems quickly, as delaying repairs only compounds these problems.
What You Should Know About Window Seals
To effectively handle a repair, you should first understand basic details about window seals. Quality window seals generally last a decade or more, but several factors, including extreme temperatures, improper installation, or regular wear and tear, can shorten their lifespan.
Identifying early signs of a failing window seal can help prevent extensive damage. Look for condensation between glass panes, noticeable drafts even when windows are closed, or unexplained spikes in your energy bill. Regularly checking your windows, especially following severe weather events, can help detect problems early and minimize repair costs.
It’s worth noting that a broken seal doesn’t always require window replacement. If the panes and frames are still in good shape, simply replacing or repairing the seal might suffice, extending the overall life of your windows.
How to Fix Window Seal: Step-by-Step Process
Step 1: Evaluate and Clean the Window
Begin by inspecting your window closely to confirm that condensation or fog results from a broken seal rather than external surface moisture. Clean both sides of the window thoroughly using a mild detergent and a soft cloth. This allows clear visibility and prevents interference during repairs.
Step 2: Remove the Window Sash
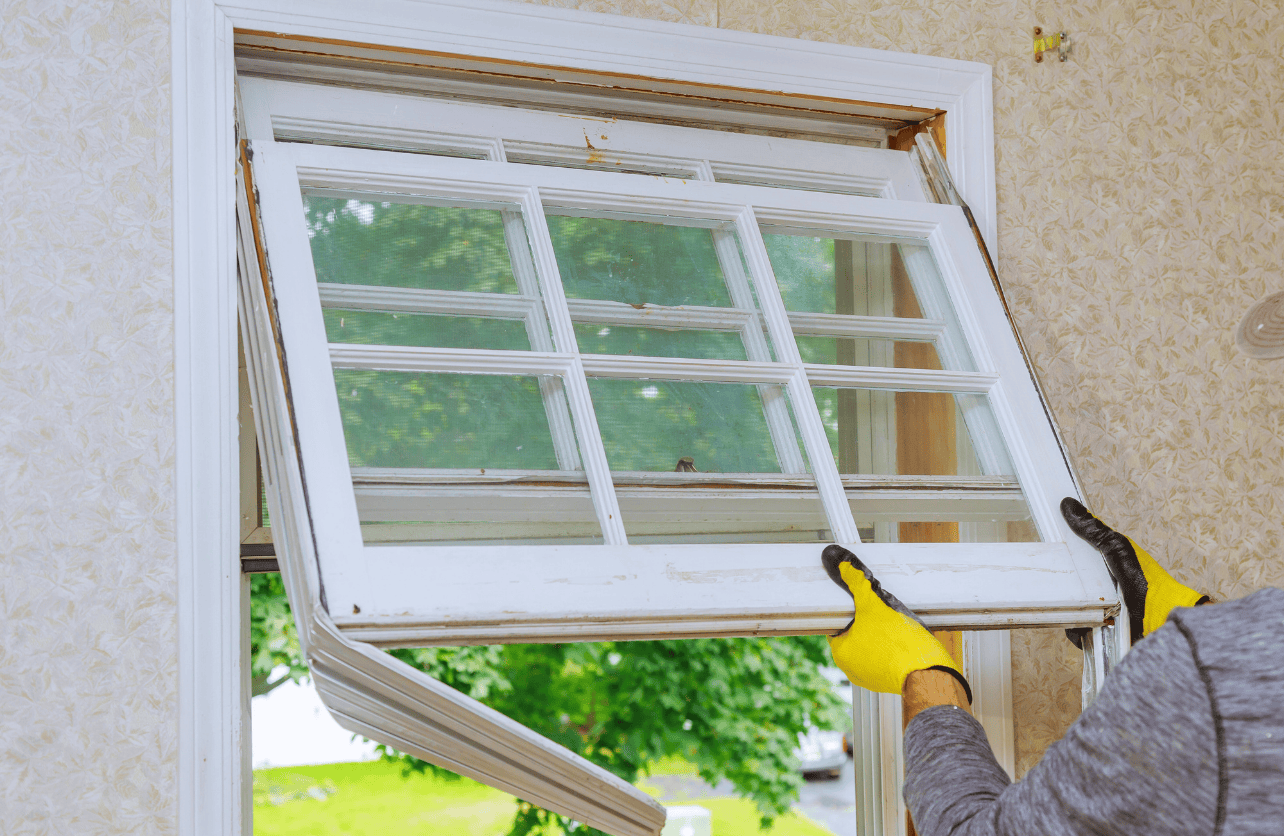
If your window design allows, carefully remove the sash from its frame. Many modern window models permit sash removal by tilting inward and lifting out. Set the sash safely on a stable, flat surface to prevent accidental damage during repairs.
Step 3: Disassemble the Glass Panes
Carefully separate the panes by removing screws, spacers, or clamps holding them together. Be gentle to avoid breaking or damaging the glass. Inspect spacers for signs of damage or wear and replace them if necessary to ensure a secure reassembly later.
Step 4: Thoroughly Clean and Dry the Panes
Once separated, thoroughly clean the inside surfaces of each pane using rubbing alcohol or specialized glass cleaner. This helps remove any residual grime or moisture. Ensuring the panes are completely dry before reassembly is crucial, as residual moisture can lead to repeated fogging.
Step 5: Refresh the Desiccant
Double-pane windows contain desiccant beads designed to absorb moisture and maintain dryness between panes. If the existing beads appear wet or degraded, replace them with fresh desiccant to ensure prolonged effectiveness and moisture control.
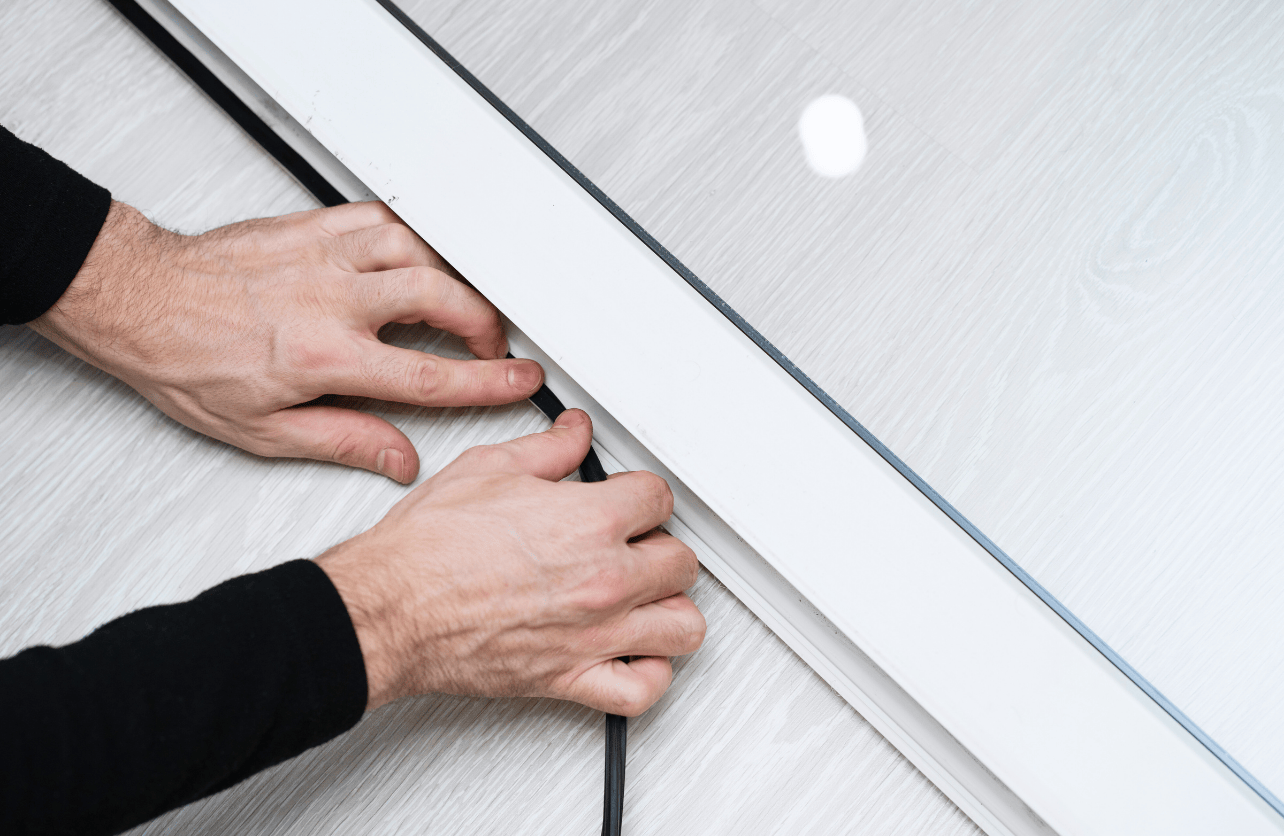
Step 6: Apply New Sealant
Apply fresh sealing tape specifically designed for double-pane windows along the edges of one pane. Ensure you press firmly and evenly to create a continuous, airtight seal. Check thoroughly to avoid gaps or uneven application.
Step 7: Reassemble the Glass Panes
Carefully realign the panes, pressing them together firmly without shifting the sealing tape. Reattach panes using original screws, clamps, or spacers, tightening them securely yet carefully to avoid glass breakage.
Step 8: Reinstall the Window Sash
Securely reinstall the sash into its frame, ensuring a snug fit. Test the window multiple times by opening and closing it to confirm proper functionality and alignment. Ensuring a precise fit here enhances the window’s overall efficiency.
Step 9: Conduct a Comprehensive Final Check
After reinstalling the sash, carefully inspect the window for any lingering issues. Look closely for gaps, leaks, or signs of improper sealing. Run your hands around the edges to detect drafts. If necessary, reinforce the area with additional exterior caulking or weather stripping for improved protection against future leaks.
Taking swift, accurate action when faced with a broken window seal ensures your home remains comfortable, energy-efficient, and safe from moisture-related issues. Following these practical steps empowers you to confidently tackle window seal repairs effectively and efficiently.
Decades of Combined Expertise
Best Buy Guidebook is a culmination of online publishing lessons learned. From SEO to paid ads, our team has experienced the highest of highs and the lowest of lows. Our goal now is simple: Arm readers with the most information possible.