How To DIY the Viral $140 Anthropologie Christmas Garland for Less Than $25

Anthropologie
If you’ve been eyeing the Anthropologie Christmas garland but can’t stomach the price tag, give this DIY a try.
I have a love-hate relationship with Anthropologie, especially during the holidays. Their Christmas collection is, without fail, a feast for the eyes every year. From candy-cane-shaped bottle openers to bright and whimsical ornaments, their decor practically screams, “Take me home!” But then reality smacks you in the face when you glance at the price tags. A single ornament for $15? And let’s be real—I’d need at least 100 of them for my Christmas tree. My holiday budget simply can’t handle it.
One particular item that stopped me in my tracks this year was their satin bow garland. Well, “satin” according to their marketing—but upon closer inspection, it’s actually polyester. For $140, I was expecting something a little more luxurious. Real silk, perhaps? It felt like a bit of a scam, to be honest. But it was so stunning, and I knew I wanted that same garland draped over my mantel this year. Naturally, I decided to DIY it.
After some research and a bit of trial and error, I discovered that not only could I recreate this garland at home, but I could do it for less than $25. Yes, really. And let me tell you—it’s just as gorgeous as the original. Here’s exactly how I did it, step by step.
The Inspiration Behind the DIY
Anthropologie’s entire 2024 Christmas collection is heavy on bows this year. Bow-print oven mitts, frilly-edged platters, bow-adorned trinket dishes—you name it, they’ve slapped a bow on it. But the pièce de résistance for me was that garland. The mix of oversized bows in festive colors screamed holiday elegance, and I couldn’t stop imagining it as the centerpiece of my mantel decor. The only thing I couldn’t imagine? Spending $140 on it.
That’s when I started scrolling through TikTok and Instagram, where the DIY community never disappoints. I came across Kristin Taenzer’s viral video, which has racked up over 1.4 million views, and she was making a similar bow garland for just $6. Kristin used metallic rope as the base for her garland, which looked amazing but also seemed like extra work (and money) I wasn’t ready to commit to. So, I decided to simplify the process—no rope, no complicated steps, just bows.
@kristintaenzer Absolutely love how this turned out 🎀✨🌲#christmasdecor #diychristmasdecor #christmasdecorating #bowgarland ♬ Rockin’ Around The Christmas Tree – Brenda Lee
Where to Find the Perfect Bows
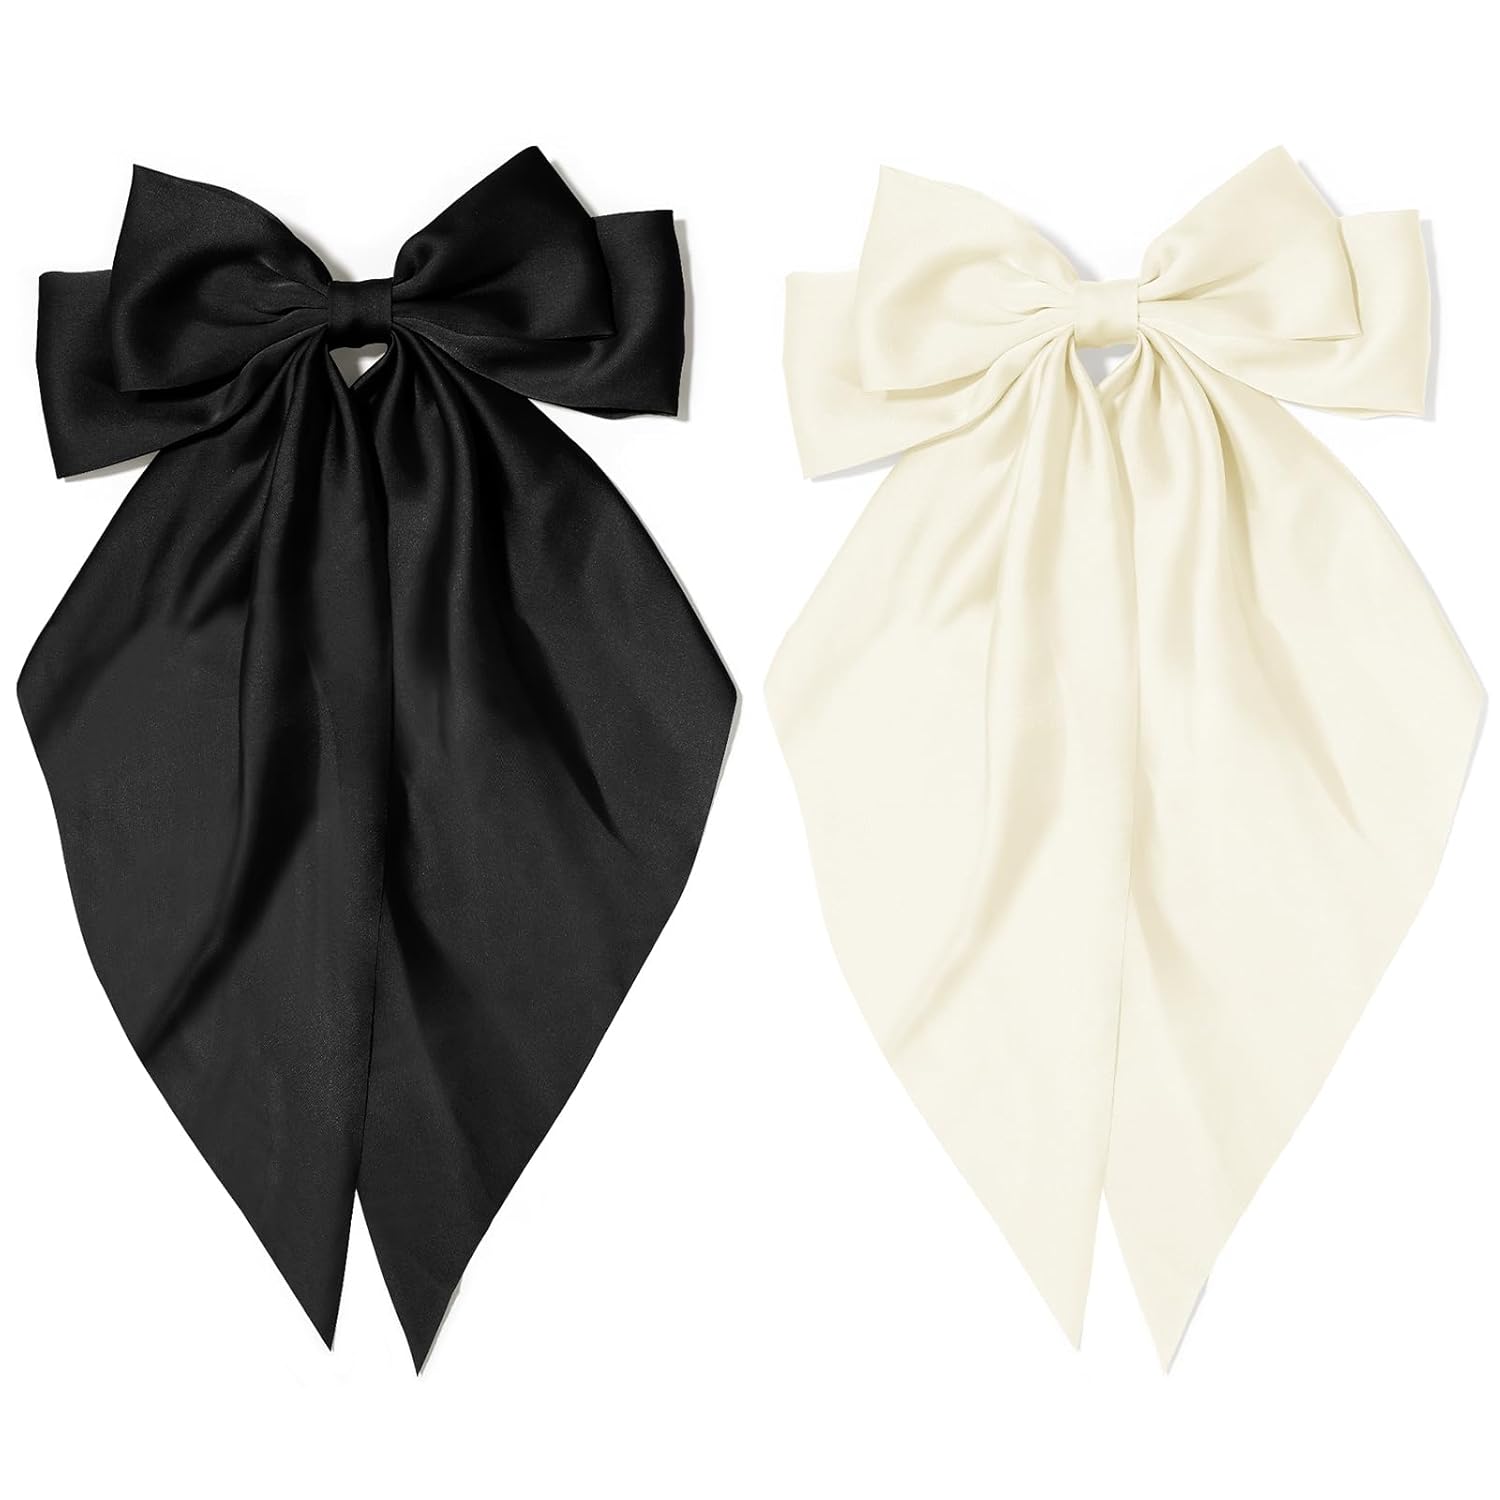
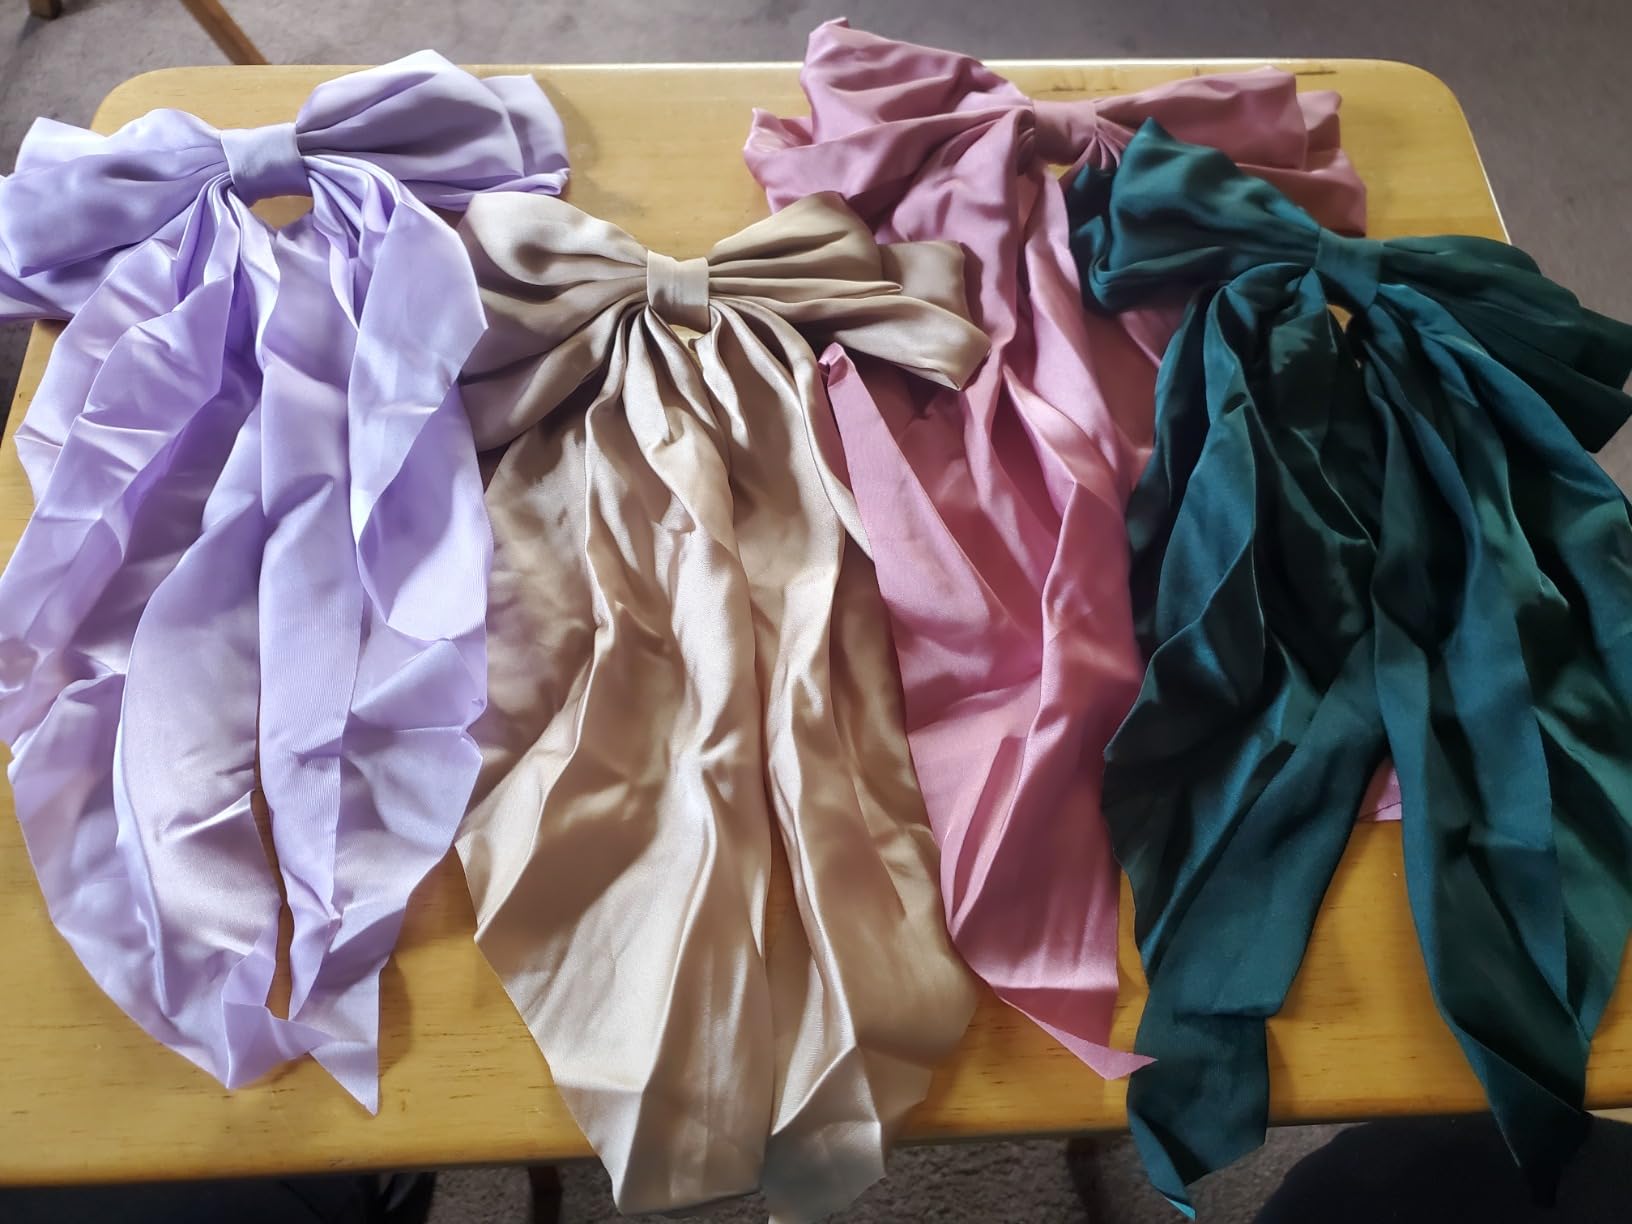
The key to nailing this DIY is finding affordable satin bows that don’t look, well, cheap. After some digging, I stumbled upon a seller on Amazon offering sets of three satin bows for $9. They came in 23 different colors, which was a dream for someone like me who loves options. Green, khaki, and red immediately caught my eye—they felt festive but not overly predictable.
If you’re planning to make a longer garland, you might want to order a couple of extra sets just to be safe. Thankfully, I scored mine during Black Friday and saved a few more dollars, but even at full price, they’re a steal compared to Anthropologie’s markup.
![]()
![]()
Feeling extra crafty? You could make your own bows using wide satin ribbon. It’s a bit more time-consuming but gives you total control over size, shape, and color. For me, pre-made bows were the perfect balance of convenience and quality.
Assembling Your Christmas Garland
Before you start gluing or stitching anything together, it’s important to plan out the length of your garland. I laid my bows side-by-side on a flat surface to get an idea of how long it would need to be to fit my mantel. For my setup, a nine-bow garland was just right. If you’re working with a bigger space, simply add more bows until you reach the desired length.
This step is also a great time to play around with color order. I went with a repeating pattern of red, green, and khaki, which added just the right amount of contrast without feeling too busy. Once you’re happy with the layout, you’re ready to start assembling.
Here’s where the magic happens. I used fabric glue to attach the bows to each other, joining one edge of a bow to the next. Starting with a red bow, I followed my color pattern—red, green, khaki—until all nine bows were connected in a single row. The fabric glue worked like a charm and made the process quick and easy.
If you want something sturdier that’ll last for years, consider stitching the bows together instead. A simple needle and thread through the edges of each bow will do the trick. It’s a bit more effort, but it’s worth it if you plan to reuse the garland for future holidays.
Another perk of skipping the rope base? This garland is ridiculously versatile. Need it a bit shorter? Just remove a bow or two. Want to go all out? Add more bows. The design is completely modular, which makes it perfect for customizing to your space.
View this post on Instagram
Time To Hang!
Once the garland was assembled, it was time to drape it across my mantel. The bows held their shape beautifully, and the satin fabric gave it that high-end look I was after. To secure it in place, I used small adhesive hooks on either end of the mantel. You could also use thumbtacks or command strips, depending on your setup.
If you’re worried about the garland slipping, a bit of double-sided tape on the backs of the bows can help keep everything in place. I also added a few sprigs of faux greenery around the edges for a little extra flair, but honestly, the garland looked stunning all on its own.
I can’t even begin to tell you how satisfying it was to step back and admire my finished garland. It looked every bit as elegant as Anthropologie’s version, but knowing I made it myself (and for a fraction of the price) made it even better. The green, khaki, and red bows complemented my existing holiday decor perfectly, and the satin fabric caught the light in the most magical way.
What I love most about this DIY is how customizable it is. You could go for a monochromatic look with all-white bows, mix in metallics for a bit of glam, or even add small ornaments between the bows for extra texture. The possibilities are endless.
Decades of Combined Expertise
Best Buy Guidebook is a culmination of online publishing lessons learned. From SEO to paid ads, our team has experienced the highest of highs and the lowest of lows. Our goal now is simple: Arm readers with the most information possible.