What Every Gardener Should Know Before Putting Seedlings in the Soil
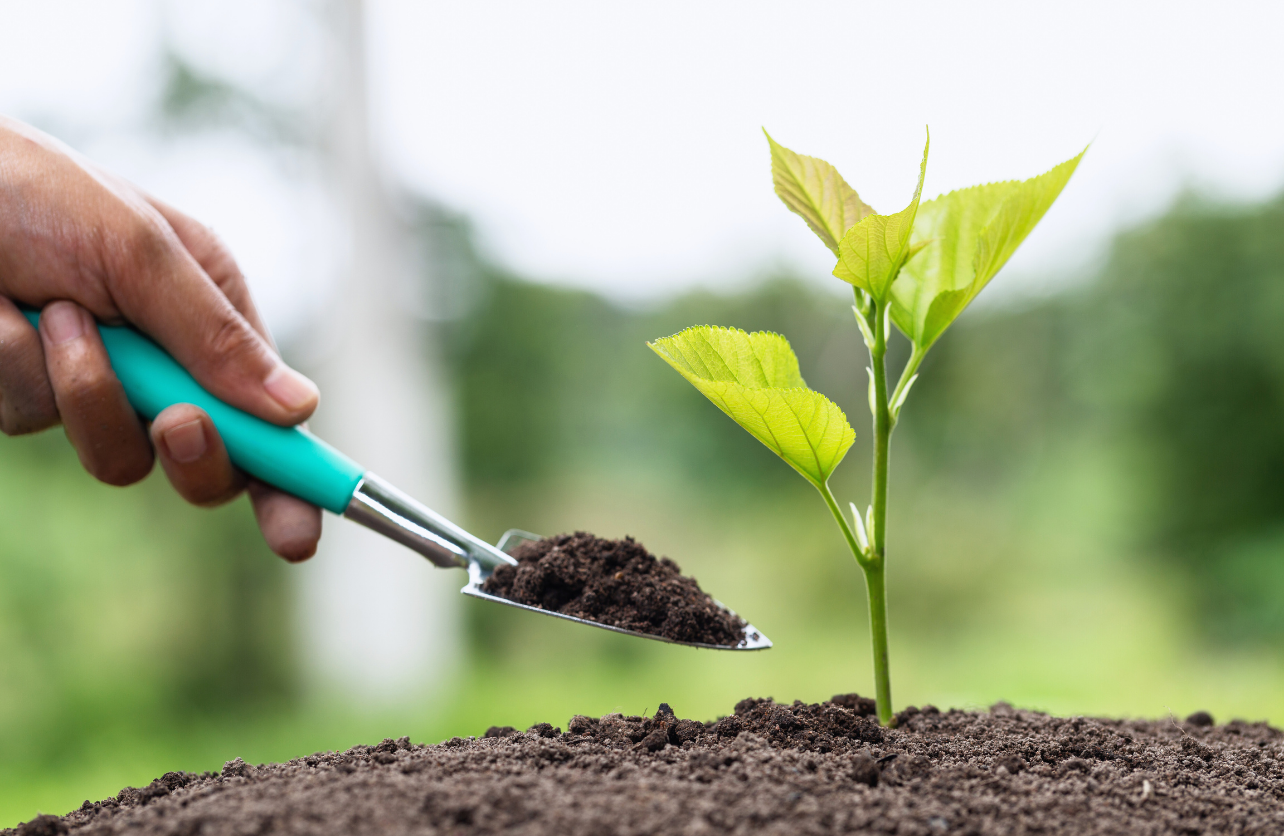
Watching seedlings thrive in their trays can be exciting: those tiny leaves unfurling, stems reaching upward, hinting at the full-grown plants they’ll become. But getting them into the ground too soon can undo all that careful work. Planting seedlings successfully involves more than just waiting a few weeks after sprouting or going by the calendar. Timing, observation, and a few key practices can make the difference between a strong garden start and a disappointing season.
Seedlings aren’t always as ready as they appear. While they may look lush and tall, they still need to meet a few key criteria before handling outdoor life. This stage—between sprouting and transplanting—is where small decisions matter. This guide walks through the essential steps to take before any seedling goes into the ground.
Confirm That Seedlings Have True Leaves and Sturdy Growth
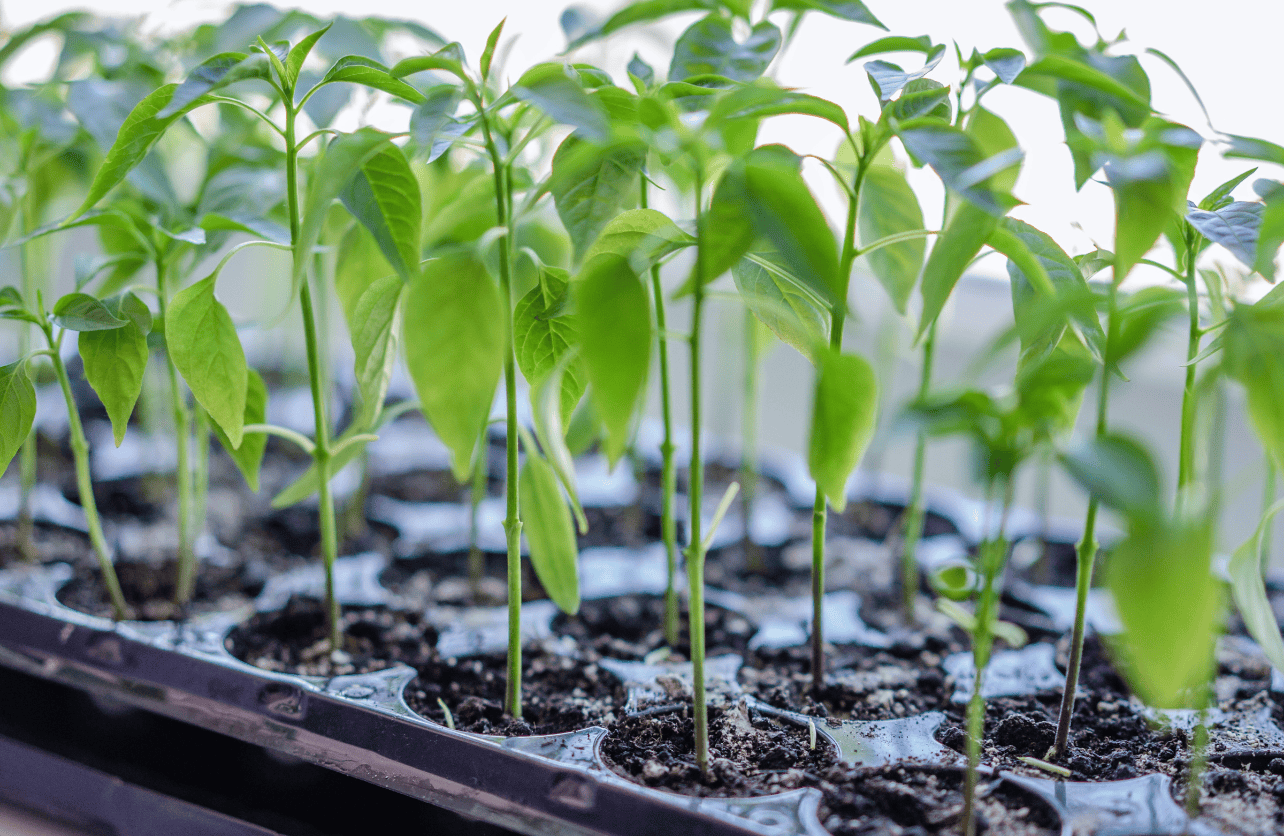
One of the clearest signs that a seedling is ready for transplanting is the presence of true leaves—those that come after the initial seed leaves. At least two sets of true leaves indicate the plant is maturing at a healthy pace. These leaves look like miniature versions of what the plant will have later, and their appearance usually follows strong root development.
Stem strength also plays a critical role. A healthy seedling stands upright on its own without bending or drooping. Thin, leggy stems are often a sign of poor light exposure and may not hold up well in the garden. It’s worth allowing extra time for such seedlings to strengthen before planting.
Inspect Root Development Before Transplanting
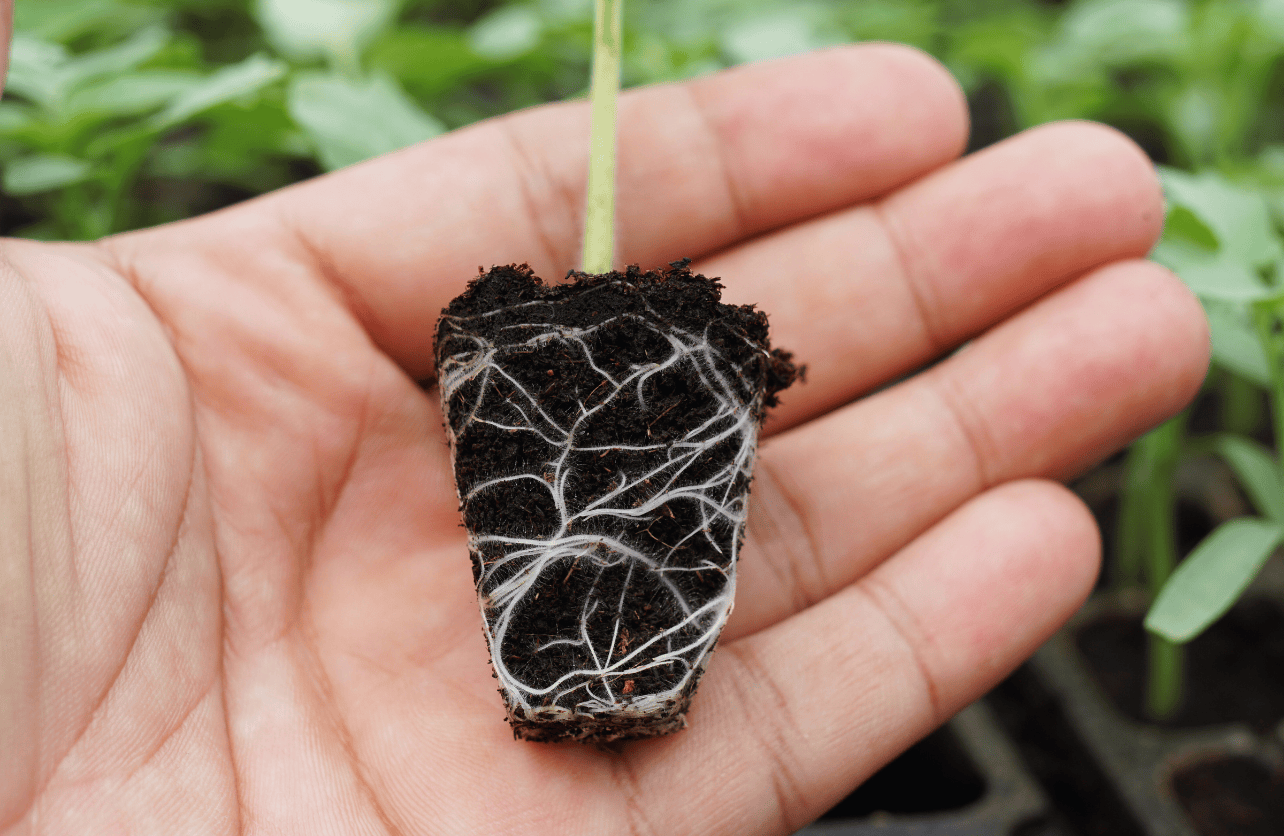
Beneath the surface, the root structure reveals whether a plant is truly ready for garden life. A quick check involves gently removing a seedling from its container to inspect the root system. A strong candidate will have a root ball that holds together well and shows healthy, white roots reaching the edges of the soil.
If roots are sparse, brown, or break apart easily, the plant likely needs more time to grow. On the other hand, if roots are tightly circling the container, the seedling may be root-bound and should be transplanted soon to avoid stunted growth. In either case, paying attention to root development ensures the plant can establish itself quickly once planted.
Harden Off Seedlings Gradually Over 7–10 Days
Plants raised indoors or in sheltered environments aren’t immediately prepared for outdoor conditions. Wind, sunlight, fluctuating temperatures, and UV exposure can stress young plants that have only known a protected space. To prevent transplant shock, hardening off is essential.
This process involves slowly acclimating seedlings to the outdoors. Start by placing them in partial shade for a couple of hours a day, then gradually increase the time and sun exposure over a week or so. Protect them from wind and cold nights during the first few days. Once they can tolerate full days and mild nights outside, they’re ready for transplanting.
Wait Until Soil Temperatures Are Right for Planting Seedlings
Air temperature alone doesn’t tell the full story. Seedlings planted into cold soil often struggle, regardless of how warm the days feel. Many warm-weather crops like tomatoes, peppers, and melons require soil temperatures of at least 60°F to establish roots and grow properly.
Using a basic soil thermometer helps take the guesswork out of planting. Insert it a few inches into the soil and check it early in the day, when temperatures are typically at their lowest. If the soil isn’t warm enough, it’s best to wait. Rushing this step can lead to stunted growth or plant loss.
Also consider the short-term forecast. A stretch of cold nights or heavy rain immediately after planting can undo a lot of progress. Waiting just a few extra days for more stable conditions often pays off.
Water Before and After Placing Seedlings in the Ground
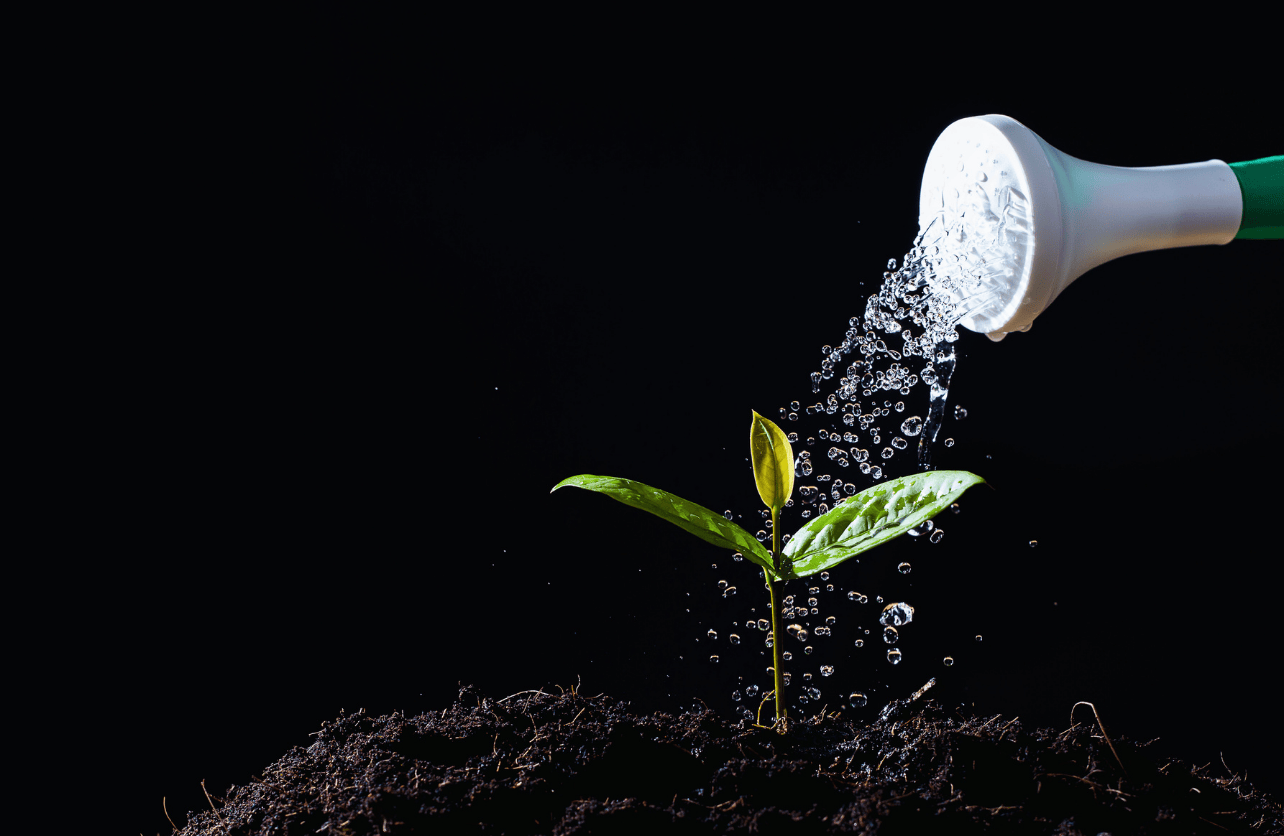
Moisture plays a big role in easing the transition from tray to garden bed. Watering seedlings an hour or two before transplanting helps the soil around their roots stay intact during handling. This reduces root disturbance and limits stress.
After planting, give each seedling a slow, deep watering. This helps the surrounding soil settle around the roots and removes air pockets that can dry out root tips. If the weather is particularly hot or windy, consider using temporary shade to reduce transplant shock for the first day or two.
Give Each Plant the Space It Needs
Overcrowding is one of the most common issues in home gardens. While it’s tempting to squeeze in a few extra plants, doing so can lead to reduced airflow, increased pest problems, and lower yields. Every seedling benefits from adequate spacing based on its mature size.
Follow spacing guidelines for each crop, even if the bed looks sparse at first. Plants grow quickly, and what seems like too much room now will often fill out in a few weeks. Proper spacing allows each plant access to light, nutrients, and water, setting them up for stronger performance throughout the season.
Watch Closely After Transplanting
The first few days after transplanting are a critical adjustment period. Young plants can show signs of stress, including drooping, yellowing, or slight leaf curl. This doesn’t always mean failure—it’s often a normal response to change.
Check in on new transplants regularly. Consistent watering and light monitoring help catch any problems early. If something seems off, a little shade, a splash of water, or protection from unexpected weather can help the plant recover. Observing closely during this period improves the chances of a smooth transition and strong long-term growth.
Decades of Combined Expertise
Best Buy Guidebook is a culmination of online publishing lessons learned. From SEO to paid ads, our team has experienced the highest of highs and the lowest of lows. Our goal now is simple: Arm readers with the most information possible.